
Lawn
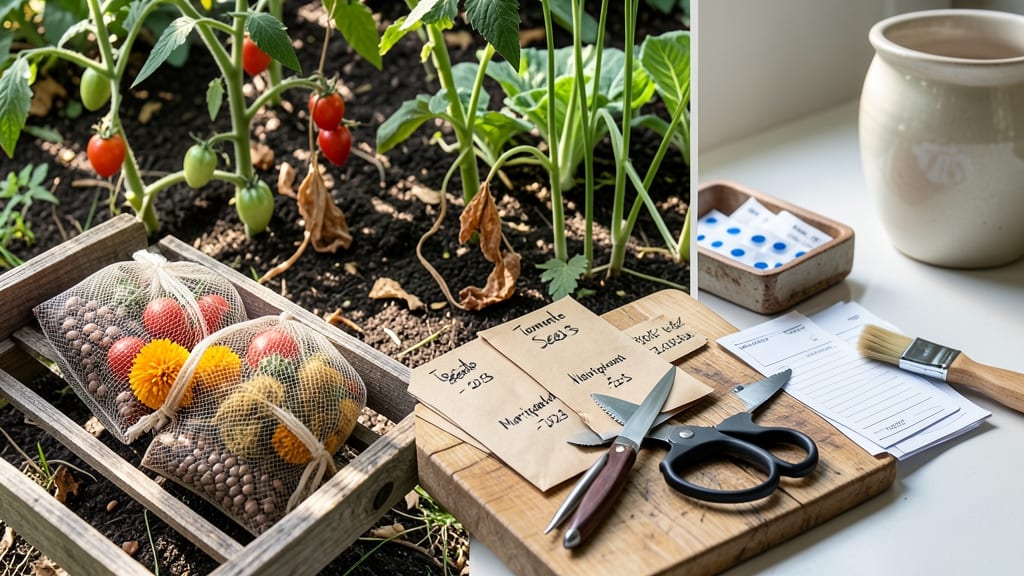
Saving seeds isn’t just about replanting—it’s about preserving the exact varieties you love and cutting costs by 90%. 🌱 A seed saving chart keeps you organized, ensuring you collect seeds at their peak viability and store them properly for next year.
Without one, you risk losing hard-earned heirlooms to poor timing or contamination. The chart tracks everything from days to maturity to isolation distances (critical for cross-pollination risks like in tomatoes or peppers). My first year without one, I wasted seeds by harvesting too late—now I mark deadlines in red.
You’ll also note moisture levels and storage conditions, which extend viability from 2-5 years for most seeds. By summer’s end, you’ll have a system that turns last year’s harvest into next year’s foundation. No more guessing when to collect or how to store—just a clear roadmap for sustainable gardening.
The payoff? Rare varieties, lower costs, and a garden that truly reflects your tastes. Start simple with a spreadsheet or printable template. Over time, you’ll refine it into a personalized guide that saves you money and preserves your garden’s legacy.
📚 In This Guide
- What you need
- Instructions
- Tips and common mistakes
- Wrapping up and next steps
What you need
- ● Seed viability chart template: Printable or digital (e.g., spreadsheet or notebook). Use a 12-month grid with columns for seed type, harvest date, germination test results, and storage conditions.
- ● Permanent markers or pens: For labeling seeds and charts (e.g., Sharpie or fine-tip markers for precision).
- ● Air-tight storage containers: Glass jars (e.g., quart or pint-sized mason jars) or resealable plastic bags with silica gel packets to control humidity.
- ● Seed packets or envelopes: Paper or mylar bags (e.g., 1-2 oz capacity) for individual seed storage, labeled with seed type and date.
- ● Germination testing supplies: Paper towels or seedling trays (for moisture control).
- ● Spray bottle (for gentle watering).
- ● Ruler (to measure seedling growth).
- ○ Humidity indicator: Optional but helpful—digital hygrometer (30-50% humidity ideal for most seeds).
- ● Seed catalog or database: For cross-referencing seed lifespans (e.g., Seed Savers Exchange or Burpee Seed Co. guides).
- ● Digital scale: For weighing seeds (helpful for bulk storage; 0.1 oz precision sufficient).
- ● UV-protective labels: Archival-quality labels to prevent ink fading over time.
- ● Vacuum sealer: Extends seed life by removing oxygen (great for long-term storage).
- ● Notebook or app: For logging environmental conditions (e.g., temperature/humidity logs).
- ● Basic knowledge of seed types: Vegetables, herbs, flowers, and grains have varying viability timelines.
- ● Access to a cool, dark, and dry storage space (e.g., 50°F or below for optimal longevity).
- ● Patience for germination tests: Some seeds (like onions or leeks) take 2-3 weeks to sprout.
How to use a seed saving chart for year-round viability
Here’s how to leverage a month-by-month guide to save seeds successfully—no guesswork involved.
📅 Step 1: Identify Your Plants’ Maturity Stages
Start by noting when each plant in your garden reaches its optimal seed-saving stage. For example, tomatoes should be left on the vine until they’re fully ripe and begin to soften. Peppers, on the other hand, need to turn completely dry on the plant before harvesting seeds. I always mark these stages on my calendar alongside the seed-saving chart to avoid missing the window.
Check the chart for your specific plants—it’ll list the ideal month for seed collection based on your hardiness zone. For instance, in Zone 7, beans are ready in late summer, while lettuce seeds mature in early fall. If you’re in a warmer zone, adjust accordingly—some plants like okra can be saved into winter.
⏰ Step 2: Track Seed Development Monthly
Use the chart as a timeline to monitor seed development. For example, if your seed-saving chart indicates that cucumbers take 90 days from planting to seed maturity, start tracking from the day you transplant seedlings. I like to set reminders for key milestones, like when flowers first appear or when pods begin to dry.
Pay attention to sensory cues: seeds are ready when pods split open easily or when the seed itself detaches with gentle pressure. For grains like wheat, wait until the heads turn golden and dry—this usually aligns with the chart’s recommended month for your region.
🌱 Step 3: Harvest and Process Seeds by Month
Follow the chart’s harvest instructions for each month. For example, if your chart says to collect tomato seeds in September for Zone 5, wait until the fruit is overripe and mushy before scooping out the gel and seeds. Rinse them thoroughly to remove residual pulp, then ferment for 2-3 days in a jar of water to separate viable seeds from floating debris.
For plants like peas or beans, simply dry the pods until crisp, then shake out the seeds. Store them in labeled envelopes with the year and variety—this keeps your seed collection organized for future planting. The chart will also note which seeds need stratification or scarification, so check it before storing.
✂️ Step 4: Store Seeds Based on Viability Lifespans
The chart includes storage guidelines for each seed type, from 1 year for lettuce to 5+ years for beans. Place seeds in airtight containers with silica gel packets to absorb moisture, then store them in a cool, dark place like a refrigerator or root cellar. I keep a small logbook next to my seed stash to track when each batch was saved and its expected viability.
Test a few seeds annually to confirm viability—plant a small batch and check for germination. If fewer than 80% sprout, it’s time to replace that batch. The chart’s monthly reminders help you rotate seeds so you’re never left with outdated stock.
🔄 Step 5: Adjust for Climate and Regional Variations
Your seed-saving chart is a starting point, but local conditions matter. If your summers are shorter or winters milder, shift harvest dates slightly earlier or later. For example, if your chart says to save basil seeds in August but your first frost hits in early September, harvest as soon as the flowers appear—basil seeds won’t survive on the plant through winter.
Note any adjustments in your garden journal so you can refine the chart’s timing next year. Over time, you’ll develop a personalized schedule that accounts for microclimates, soil conditions, and even rainfall patterns—making your seed-saving process even more reliable.
Tips & tricks for perfect seed saving success
Mastering a month-by-month seed saving chart takes practice, but these insights will help you avoid common pitfalls and maximize your garden's potential.
Visual Cues Over Guesswork: In Step 1, when identifying maturity stages, trust your senses more than the calendar. For tomatoes, look for skin that dimples easily when gently pressed—this signals overripeness and seed readiness. With peppers, wait until the pods turn completely papery and dry; they should crumble between your fingers like dried leaves. This tactile check ensures you're harvesting at peak viability, even if your local climate shifts the timeline slightly.
Precision Timing for Processing: The 2-3 day fermentation period in Step 3 is non-negotiable for tomato seeds, but don't rush it. Place your jar of rinsed seeds in a warm spot (around 70-75°F) to speed up fermentation—this helps break down the gel that inhibits germination. I keep mine on my kitchen counter near the oven. After 2 days, check for mold (a sign to discard) or floating debris (ready to drain). The fermentation process naturally selects for the hardiest seeds.
Climate-Adaptive Adjustments: In Step 5, when adjusting for regional variations, consider creating a "frost watch" system for your garden. Set up a simple alert for your first expected frost date, then work backward from your chart's recommended harvest months. For example, if basil seeds need to be collected in August but frost arrives in September, harvest the flowers as soon as they appear—even if they're not fully dried. This proactive approach prevents losing entire seed batches to unpredictable weather patterns.
Storage System Upgrade: For Step 4's viability testing, implement a "seed rotation" system using clear, labeled mason jars with date markers on the lid. Store one jar of each seed type in your refrigerator and another in a cool pantry. Test seeds from the older batch annually—this dual storage method lets you compare how different environments affect longevity. I've found that refrigerator storage extends lettuce seed viability by up to 6 months compared to pantry storage.
Pro Tips for Seed Saving Chart
- Mastering a month-by-month seed saving chart takes practice, but these insights will help you avoid common pitfalls and maximize your garden's potential.
- Visual Cues Over Guesswork: In Step 1, when identifying maturity stages, trust your senses more than the calendar.
- Precision Timing for Processing: The 2-3 day fermentation period in Step 3 is non-negotiable for tomato seeds, but don't rush it.
Frequently asked questions
Got questions about saving seeds? You’re not alone! Here are answers to the most common queries—so you can plan like a pro and avoid common pitfalls.
How do I know when a plant is ready for seed saving?
Look for clear signs like dried, brown seed pods (e.g., tomatoes, beans) or mature seed heads (e.g., lettuce, cilantro). For vegetables, wait until 80-90% of the seeds in a pod are dry and dark. Herbs often release seeds when pods split open—harvest before they scatter!
Can I save seeds from store-bought vegetables?
It depends! Hybrid (F1) varieties won’t grow true to type—save seeds only from heirloom or open-pollinated plants. Check seed packets for labels like "OG," "HPS," or "heritage." If unsure, ask the seller or opt for seeds from reputable nurseries.
How long can I store saved seeds before they lose viability?
Most seeds stay viable for 1–5 years if stored properly (cool, dry, dark place, <50% humidity). Use a seed viability chart as a guide—test germination rates yearly. Pro tip: Label seeds with the harvest date to track freshness!
What’s the best alternative if my seeds don’t germinate?
Try these troubleshooting steps:
- Test viability: Plant a few seeds in damp paper towels—if <50% sprout in 7–10 days, discard the batch.
- Adjust conditions: Some seeds (like parsley) need cold stratification (refrigerate for 2–4 weeks).
- Buy fresh: If all else fails, purchase new seeds from a trusted source.
Do I need special equipment to save seeds?
Nope! Basic tools suffice: paper bags (for drying), envelopes (for storage), and a fine mesh strainer (to clean seeds). Optional upgrades: a seed moisture meter or desiccant packets for long-term storage.
Wrapping up and next steps
Mastering seed saving is a rewarding skill that connects you to the cycle of life—literally! 🌱 With this seed saving chart, you now have a clear roadmap to preserve your garden’s best traits month by month.
Whether you’re a seasoned gardener or just starting, every saved seed is a step toward sustainability and self-sufficiency.
Ready to take the next step? Start small—pick one plant variety this season, follow the chart, and celebrate your first harvest of homegrown seeds. Your future garden (and wallet!) will thank you. Happy saving! 🌿