
Lawn
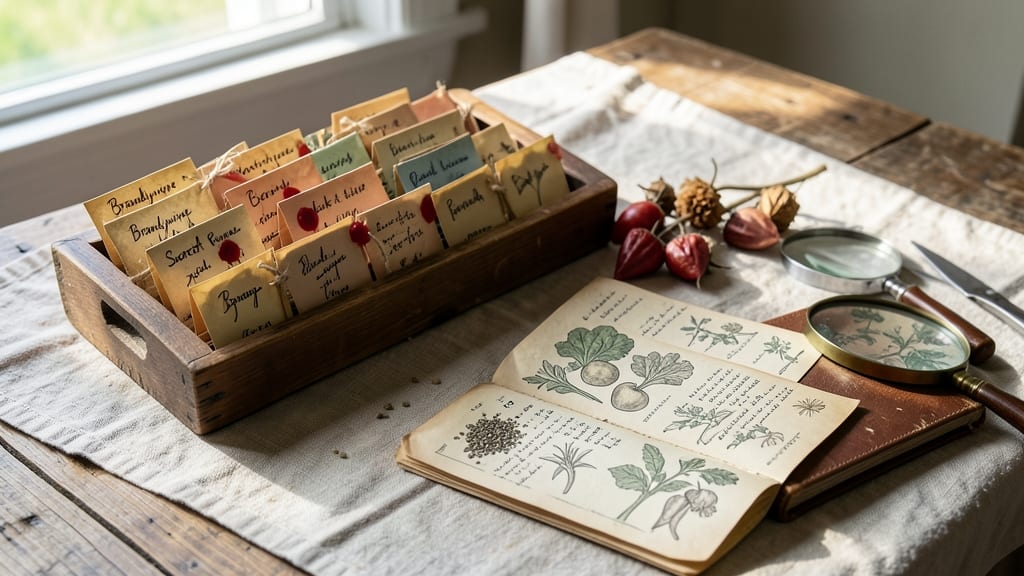
Saving seeds through the Seed Savers Exchange lets you grow heirloom varieties that disappear from grocery stores every year. ✨ These open-pollinated seeds are the genetic backbone of our food system, and preserving them keeps flavors, colors, and growing traits alive for future gardeners.
The exchange connects home gardeners with seed libraries, regional seed swaps, and online communities where you can trade seeds for free. I’ve saved tomato seeds from my garden for years—just a few dried tomatoes yield enough seeds to plant a whole new crop, cutting costs and ensuring heirloom quality.
What you’ll gain is resilience: seeds adapted to your local climate, no corporate patents, and the satisfaction of growing plants exactly as they were meant to be. Plus, your contributions help prevent biodiversity loss by keeping rare varieties in circulation.
Start small with easy-to-save plants like beans, peas, or tomatoes. Harvest fully mature pods, dry them completely, and store in a cool, dark place. The exchange makes it simple to share what you’ve saved—just list your seeds online or bring them to a local swap.
📚 In This Guide
- What you need
- Instructions
- Tips and common mistakes
- Wrapping up and next steps
What you need
- ● Heirloom Seeds: Start with open-pollinated or heirloom seeds (e.g., tomatoes, beans, or peppers). Pro tip: 💡 Check the blank">Seed Savers Exchange catalog for varieties!
- ● Growing Containers: Pots (5–10 inches deep) – 3–5 units for small-scale saving.
- ● Garden beds or raised beds – 1–2 square feet per plant for optimal airflow.
- ● Growing Medium: High-quality potting soil or compost-rich garden soil (1–2 cubic yards if gardening in-ground).
- ● Watering Can or Hose: With a gentle spray nozzle for even moisture.
- ● Labels & Markers: Waterproof tags or masking tape + permanent markers to track varieties.
- ● Pruning Shears or Sharp Scissors: For cleanly harvesting seed pods or fruits.
- ● Paper Towels or Newspaper: For drying seeds (absorbent but lint-free).
- ● Air-Tight Containers: Glass jars (4–8 oz) or resealable bags with silica gel packets (2–4 units).
- ● Screen or Mesh: Fine mesh (e.g., window screen) for winnowing chaff from seeds.
- ○ Thermometer (Optional): To monitor drying conditions (ideal: 60–80°F).
- ● Space: A sunny spot (6+ hours of light daily) or a grow light for indoor saving.
- ● Patience: Seed saving takes 4–8 weeks from harvest to storage!
- ○ Community Access (Optional): Join the blank">Seed Savers Exchange for networking and rare varieties.
How to participate in seed Savers Exchange like a pro
Here’s how I’ve successfully preserved heirloom seeds through the Seed Savers Exchange—no green thumb required.
🌱 Step 1: Join and Select Your Seeds
Start by becoming a member of the Seed Savers Exchange. Their website offers a catalog of rare, open-pollinated varieties perfect for saving. I always begin by browsing the "Heirloom" section, focusing on plants that thrive in my climate zone. Look for seeds labeled "open-pollinated" or "heritage"—these are the ones you can save and share legally.
Pick 3-4 varieties to start. Too many can overwhelm your first season. I recommend starting with easy-to-grow plants like beans, tomatoes, or lettuce. These plants are forgiving and produce abundant seeds. Avoid hybrid varieties—they won’t grow true from seed, making them useless for saving.
📝 Step 2: Plan for Isolation and Pollination
Isolation is key to maintaining seed purity. If you’re growing plants that cross-pollinate (like tomatoes or beans), keep them at least 400 feet apart from other varieties. For home gardeners, this often means growing just one variety per plant type. I’ve learned the hard way—growing two tomato varieties in the same garden can lead to mixed seeds that won’t grow true.
If space is tight, focus on self-pollinating plants like peas, beans, or lettuce. These don’t require isolation. For cross-pollinators, consider growing them in separate containers or small plots. Label everything clearly—mistakes here ruin future generations of seeds.
🌿 Step 3: Grow Plants to Maturity and Harvest Seeds
Let your plants grow fully mature before harvesting seeds. For tomatoes, wait until the fruit is completely ripe and begins to soften. I always pick a few extra tomatoes to eat first—this way, I know the rest are ready. For beans, wait until the pods are dry and papery, then collect them before they split open.
Harvest seeds at the right time to ensure viability. For tomatoes, scoop out the gel and seeds, then ferment them in water for 2-3 days to remove the gel. Rinse and dry on a screen or paper towel. For beans, simply open the dry pods and let the seeds air-dry in a warm, dry place. Store them in a cool, dark spot once completely dry.
✂️ Step 4: Clean, Dry, and Store Seeds Properly
Clean seeds thoroughly before storage. I use a fine-mesh sieve to remove debris and a fan to blow away chaff. For stubborn seeds, a damp paper towel works wonders—just let them dry again afterward. Moisture is the enemy of long-term seed viability.
Store seeds in airtight containers like glass jars or envelopes. Add a packet of silica gel to absorb any lingering moisture. Label each container with the plant name, variety, and harvest year. I keep mine in the fridge or a cool pantry—this slows down seed deterioration. Test viability every 2-3 years by planting a few seeds to see if they germinate.
📤 Step 5: Share and Trade Through the Exchange
Once your seeds are clean and stored, it’s time to share! The Seed Savers Exchange makes it easy to trade seeds with other members. Start by listing your seeds in the exchange catalog. Include clear photos, growing details, and any special notes (like disease resistance or unique flavors). I always include a brief story about the variety—it makes my listings more appealing.
When trading, be honest about seed quality and quantity. The community thrives on trust, and a few well-placed seeds can go a long way. Join forums or discussion groups to connect with other seed savers. You’ll learn new techniques and discover rare varieties you might never find elsewhere.
Tips & tricks for preserving heirloom seeds like a pro
Here's what nobody tells you about keeping heirloom seeds viable for years—these tricks have saved my harvests from disaster.
Climate Zone Matters: Before selecting seeds, check the Seed Savers Exchange catalog for varieties suited to your specific USDA hardiness zone. I once wasted a whole season growing a heat-loving pepper variety in my cool climate—don't make that mistake! The catalog's "climate zone" filters are your best friend for avoiding disappointment.
Harvest Timing is Everything: For tomatoes, I've learned to watch for that telltale softening at the stem end—the moment the fruit begins to yield slightly when gently squeezed. For beans, wait until pods turn completely papery and start cracking open naturally. Harvesting too early means immature seeds that won't germinate, while waiting too long risks seed loss to animals or weather.
Fermentation Secret: That 2-3 day fermentation step for tomato seeds isn't just about removing gel—it's also a natural pasteurization process. The acetic acid bacteria that develop during fermentation kill many seed-borne pathogens. I add a splash of water to my seed slurry and let it sit at room temperature, stirring occasionally. The smell gets funky, but it works wonders for seed purity.
Storage Upgrade: While the fridge works fine, I've found that a small seed vault in my freezer (with proper moisture control) extends viability to 10+ years for many varieties. Use vacuum-sealed bags with silica gel packets for maximum protection. Label each bag with the variety name and harvest date—trust me, you'll forget otherwise!
Pro Tips for Seed Savers Exchange
- Here's what nobody tells you about keeping heirloom seeds viable for years—these tricks have saved my harvests from disaster.
- Climate Zone Matters: Before selecting seeds, check the Seed Savers Exchange catalog for varieties suited to your specific USDA hardiness zone.
- Harvest Timing is Everything: For tomatoes, I've learned to watch for that telltale softening at the stem end—the moment the fruit begins to yield slightly when gently squeezed.
Frequently asked questions
Got questions about joining the Seed Savers Exchange or preserving heirloom seeds? You’re not alone! Here are some of the most common queries—and their answers—to help you get started on your seed-saving journey.
What’s the best time of year to start saving seeds?
The ideal time depends on the plant! For most vegetables, harvest seeds when the pods dry out but before they shatter (e.g., tomatoes when they’re paper-thin and brown). Leafy greens like lettuce can be saved from mature plants in late summer. Check the Seed Savers Exchange calendar or plant-specific guides for precise timing—pro tip: mark your garden with flags to track ripening!
How do I join the Seed Savers Exchange?
Joining is easy! Visit the Seed Savers Exchange website, create a free account, and browse their Seed Exchange Catalog. Members can request seeds (with a small fee for non-members) or list their own heirloom varieties. Pro tip: Start with easy-to-save seeds like beans, peas, or tomatoes to build confidence!
Can I save seeds from hybrid plants?
Hybrid seeds (like those labeled “F1”) often don’t reproduce true to type, meaning the next generation may not match the parent plant. For reliable heirlooms, stick to open-pollinated varieties listed on the exchange. Need help identifying? Check the plant’s label or ask the Seed Savers community—they’re happy to guide you!
How do I store seeds long-term?
Proper storage keeps seeds viable for years! Place them in a cool (32–41°F), dry place (like a fridge or seed vault) inside airtight containers (mason jars or mylar bags work great). Add a silica gel packet to absorb moisture. Label each with the variety name and date—trust us, you’ll thank yourself next planting season! Test viability yearly by planting a few seeds.
What if I can’t grow my own seeds?
No garden? No problem! The Seed Savers Exchange offers a mail-order seed program where you can purchase heirloom seeds directly. You can also trade with fellow members—many share surplus seeds for free or low-cost. Bonus: Support small farms and biodiversity by choosing rare varieties over commercial brands!
Wrapping up and next steps
Joining the Seed Savers Exchange isn’t just about preserving heirloom seeds—it’s about fostering a community that values biodiversity, sustainability, and the stories tied to each seed.
Whether you’re a seasoned gardener or just starting, your contribution, no matter how small, helps keep these treasures alive for future generations. Ready to take the next step? 🌱 Start by browsing the exchange’s catalog, connecting with local seed savers, or even sharing your own seeds—every action plants the seeds (pun intended!) of a greener tomorrow.