
Lawn
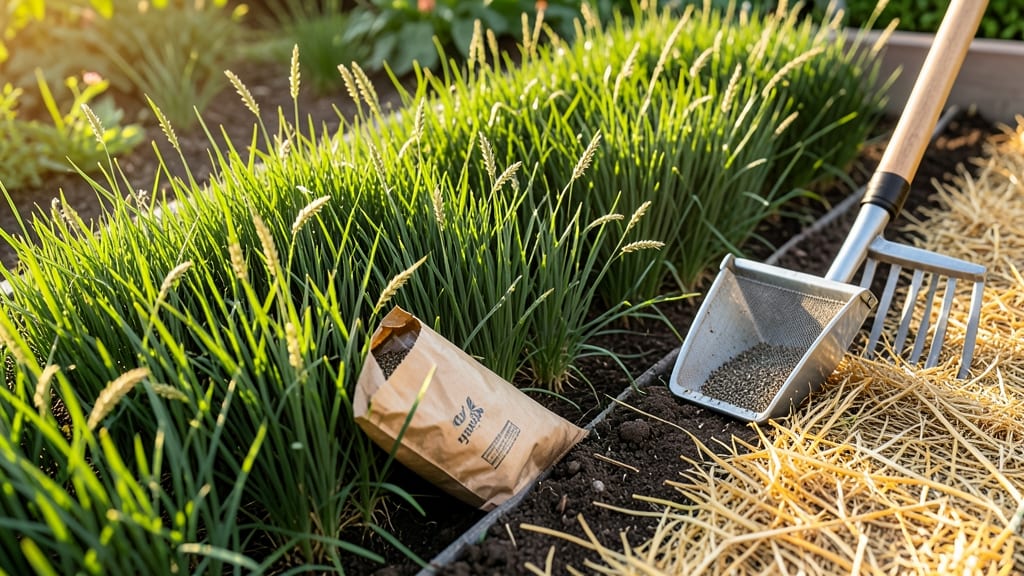
Your grass seed mulch isn't just a finishing touch—it's the secret weapon for thicker lawns that make neighbors jealous. 🌱 I learned the hard way that skipping this step means patchy coverage and slower growth, but doing it right transforms a sparse seedbed into a lush carpet within weeks.
The right mulch—whether straw, peat moss, or even wood fiber—keeps seeds moist while blocking harsh sunlight that can dry them out. Timing matters too: apply it right after seeding, when soil is damp but not soggy.
Too early and you smother the seeds; too late and they dry out before taking root.
You'll see those first green blades push through in just 7-14 days with proper mulch coverage, and the results last through droughts that kill unprotected lawns. The key is keeping it light—just ¼ inch thick—and avoiding heavy mulches that suffocate seeds.
Works for cool-season grasses in spring/fall or warm-season grasses in summer, though southern climates need extra vigilance against mulch drying out. Here's how to do it without the common mistakes that ruin germination.
📚 In This Guide
- What you need
- Instructions
- Tips and common mistakes
- Wrapping up and next steps
What you need
- ● Grass Seed: 10–20 lbs (depending on lawn size; check seed bag for coverage rates). Choose a mix tailored to your climate (e.g., tall fescue, Kentucky bluegrass, or perennial ryegrass).
- ● Mulch: Straw: 1–2 bales (straw, not hay—avoid weed seeds!). Opt for certified weed-free straw for best results.
- ○ Compost: 1–2 cubic feet (optional but boosts soil health). Use well-aged, coarse compost to avoid clumping.
- ● Tools: Broadcast spreader (for even seed distribution).
- ● Rake (with fine or medium teeth for smoothing).
- ● Garden hose (with a fine mist nozzle).
- ● Gloves (to protect your hands from straw and soil).
- ● Prerequisites: Prepped soil: Loose, level, and free of debris (mow low, aerate if compacted, and remove weeds).
- ● Weather forecast: Aim for cooler temps (50–75°F) and no rain for 24–48 hours post-seeding.
- ● Lawn fertilizer (low-nitrogen starter blend, like 10-10-10).
- ● Soil test kit (to check pH and nutrient levels before seeding).
- ● Lightweight landscape fabric (to suppress weeds if mulching heavily).
Step-by-Step guide to applying grass seed mulch
Here’s how to create that perfect, protective layer for your new grass—no guesswork, just results.
🌱 Step 1: Prepare the Soil for Seeding
Start by raking your lawn area to remove debris and create a smooth, even surface. Loosen the top 2-3 inches of soil with a garden rake or tiller to help roots establish. If your soil is compacted, aerate first—this opens up space for seeds to breathe and grow.
Test the soil pH with a kit (ideal range is 6.0-7.0 for most grasses). If it’s too acidic or alkaline, amend it with lime or sulfur before seeding. This step ensures your seeds have the best possible start, so don’t skip it—even a slight pH adjustment makes a big difference.
🌱 Step 2: Spread Grass Seed Evenly
Use a broadcast spreader or hand-sow seeds at the rate recommended on the packet. For most lawns, 5-10 pounds per 1,000 square feet works well, depending on the seed type. Walk in a crisscross pattern to avoid missed spots or clumps.
Lightly rake the area again to press seeds into the soil—just enough so they make contact but aren’t buried too deep. Seeds need sunlight to germinate, so keep them ¼ inch or less below the surface. If you’ve ever seen patchy lawns, uneven seeding is usually the culprit.
💧 Step 3: Apply Mulch for Protection
Use straw mulch (not wood chips—it can mat down and block light) and spread it evenly over the seeded area. Aim for a layer ¼ to ½ inch thick. This keeps seeds moist, shields them from birds and wind, and regulates soil temperature.
Gently rake the mulch to avoid clumping, then water lightly until the mulch looks damp but not soggy. Overwatering now can wash seeds away or create a crust that prevents germination. Think of it like wrapping your seeds in a cozy blanket—they’ll thank you when they sprout.
☀️ Step 4: Water Consistently for Germination
Keep the mulch and top 1-2 inches of soil moist (not soaked) until the grass reaches 2-3 inches tall. Water lightly 2-3 times daily rather than deeply once—this mimics natural rain and prevents seeds from drying out. Use a sprinkler with a fine mist setting for best results.
You’ll see the first sprouts in 7-21 days, depending on the grass type and weather. Once germination starts, reduce watering to 1-2 times daily to encourage strong root growth. Avoid walking on the lawn until the grass is fully established—those tiny seedlings are fragile.
⏰ Step 5: Maintain and Transition to Regular Care
After 4-6 weeks, when grass reaches 3-4 inches tall, gradually reduce mulch by raking it away. This prevents smothering as the grass grows taller. Mow with a sharp blade set to 3 inches high to avoid scalping the lawn.
Now’s the time to switch to a regular watering schedule—1 inch per week, including rainfall. Fertilize lightly with a starter blend to boost root development. With consistent care, your lawn will thicken into a lush, resilient carpet that handles foot traffic and weather like a pro.
Tips & tricks for perfect grass seed mulch Application
Your lawn’s success starts with these simple but game-changing strategies that turn good seeding into great results.
Soil Prep Secret: Don’t just loosen the top 2-3 inches of soil—break up any compacted layers deeper down with a garden fork. I’ve seen lawns fail because the roots couldn’t penetrate past a hardpan layer. If your soil feels like concrete when pressed, aerate first. This extra step pays off when you see those roots reaching deep for moisture and nutrients.
Seeding Technique: For Step 2, I swear by the "double pass" method when hand-sowing: make your first crisscross pattern, then go over it again at a 45-degree angle. This ensures you don’t miss any spots or create thick clumps. If you’re using a broadcast spreader, walk slowly and overlap your passes by about 12 inches. The goal is even coverage—no bare patches, no overcrowded areas.
Mulch Application: When applying that ¼ to ½ inch layer of straw mulch in Step 3, think "light as a blanket" rather than "heavy as a snowdrift." Too-thick mulch blocks sunlight and traps too much moisture, which can actually rot your seeds. I like to spread it with my hands first to get an even layer, then use a rake to smooth it out. And here’s a pro move: sprinkle a thin layer of seed starter fertilizer over the mulch before watering—it’ll dissolve slowly and give your seeds a nutrient boost.
Watering Wisdom: Those 2-3 times daily in Step 4 are critical, but timing matters too. Water in the early morning so the mulch has all day to absorb moisture before evening evaporation. Use a rain gauge to measure your watering—you’re aiming for about ¼ inch per session. If you see water pooling, your sprinkler’s too intense; switch to a fine mist setting. And here’s what nobody tells you: if rain’s in the forecast, hold off on watering that day—the natural rainfall will do the job better than your sprinkler.
Pro Tips for Grass Seed Mulch
- Your lawn’s success starts with these simple but game-changing strategies that turn good seeding into great results.
- Soil Prep Secret: Don’t just loosen the top 2-3 inches of soil—break up any compacted layers deeper down with a garde...
- Seeding Technique: For Step 2, I swear by the "double pass" method when hand-sowing: make your first crisscross patte...
Frequently asked questions
Got questions about grass seed mulch? You’re not alone! Here are some of the most common concerns—and straightforward answers—to help you get the best results for your lawn.
What exactly is grass seed mulch, and why do I need it?
Grass seed mulch is a protective layer (like straw, peat moss, or even compost) spread over newly seeded lawns. It shields seeds from birds, wind, and drying out, while also trapping moisture and nutrients. Think of it as a cozy blanket for your grass—keeping it safe until it’s strong enough to stand on its own!
How long should I leave the mulch on my lawn?
Leave the mulch in place until the grass reaches about 3–4 inches tall (usually 4–6 weeks). Once the grass is established, you can rake off the excess mulch or let it break down naturally. Over time, it’ll enrich the soil—just don’t let it pile up too thickly or it may smother new growth.
Can I use regular soil or compost as mulch instead of straw?
Yes! While straw or peat moss are the gold standards (they’re lightweight and decompose cleanly), you can also use compost, coconut coir, or even shredded leaves. Avoid heavy materials like mulch from wood chips—they can mat down and block sunlight. Just keep it ¼-inch thick for best results.
Will mulch keep birds from eating my grass seed?
Mulch helps deter birds by making it harder for them to spot seeds, but it’s not foolproof. For extra protection, try scattering netting lightly over the area or using bird repellent sprays. Remove the netting once the grass is sprouting (about 2–3 weeks in).
Do I still need to water if I’m using mulch?
Mulch retains moisture but doesn’t replace watering. Keep the soil consistently damp (not soggy) by watering lightly 2–3 times daily for the first 2 weeks. Once grass sprouts, you can gradually reduce to 1 inch per week. A sprinkler with a fine mist setting works best.
What should I do if mold or fungus appears under the mulch?
If you see white or gray fuzzy growth, it’s likely mold from excess moisture. Remove the mulch immediately, fluff the soil, and let it dry out for a day. Then, reapply a thin layer of mulch (¼-inch max) and avoid overwatering. For stubborn cases, sprinkle fungicide or baking soda (1 tbsp per gallon of water) to prevent spread.
Wrapping up and next steps
Transforming your lawn with grass seed mulch isn’t just about aesthetics—it’s a game-changer for resilience, growth, and long-term health. 🌱 By layering organic materials like straw or peat moss, you’re giving your grass the perfect start: moisture retention, weed suppression, and protection from harsh elements.
Whether you’re a seasoned gardener or just starting out, this simple technique makes lawn care easier and more effective.
Ready to see the difference? Start small—test a patch this season! Monitor progress, adjust as needed, and watch your lawn thrive. Happy mulching! 🌿