
Size
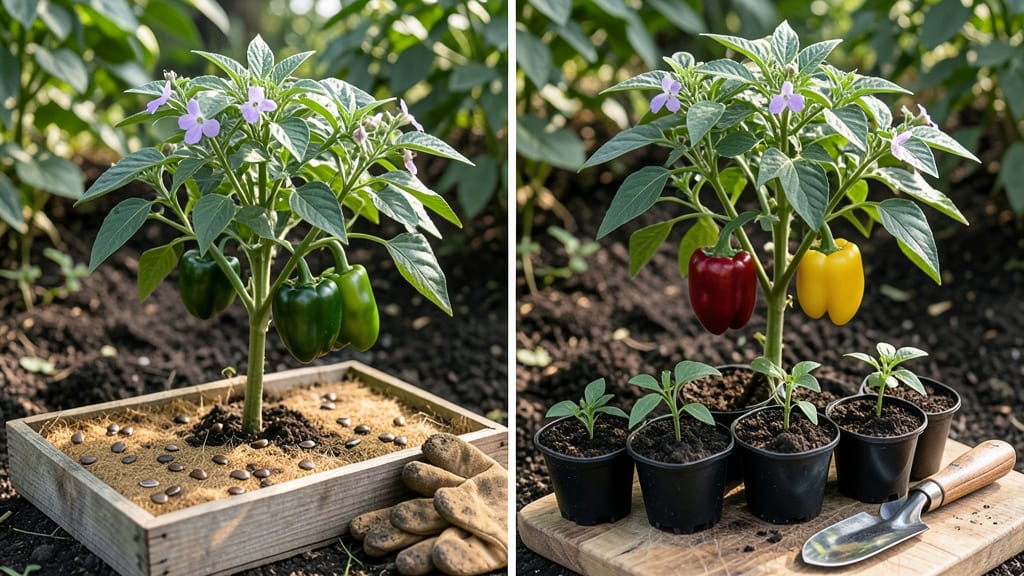
Growing bell peppers from seed means your garden will be packed with crisp, sweet harvests all summer long—and you’ll use every single pepper without waste. 🌱 I’ve grown bell peppers for years, and the secret to zero-waste harvesting starts with the right seeds, soil, and spacing.
The first step is choosing the perfect spot, and trust me, it makes all the difference.
You’ll need just a few supplies: bell pepper seeds (pick sweet varieties like ‘California Wonder’ or ‘Jupiter’), well-draining potting mix, small seed-starting pots, and a sunny windowsill or grow light. Once your seedlings sprout—usually in 7-14 days—they’ll need 6-8 hours of sunlight daily to grow strong.
The key is keeping the soil consistently moist but not soggy, or you’ll risk damping-off disease.
By midsummer, your plants will be loaded with peppers, and the best part? You’ll harvest them at their peak ripeness—bright red, yellow, or green—before they overripen. The trick to zero waste is picking them every 2-3 days, so they don’t turn mealy or rot on the vine.
Store any extras in the fridge, and you’ll have fresh peppers for weeks.
This method works for any outdoor garden, whether you’re growing in raised beds, containers, or straight in the ground. The only real mistake is skipping the hardening-off process—let those seedlings adjust to outdoor conditions for 7-10 days before planting, or they’ll shock and struggle.
Ready to grow a pepper patch that never goes to waste?
📚 In This Guide
- What you need
- Instructions
- Tips and common mistakes
- Wrapping up and next steps
What you need
- ● Bell pepper seeds: 5–10 seeds (choose heirloom or organic for zero-waste benefits). Pro tip: 💡 Save seeds from store-bought peppers (if organic) to reduce waste!
- ● Seed-starting trays or pots: 2–4 (3–4 inches deep) with drainage holes.
- ● Seed-starting mix: 1–2 bags (sterile, peat-free, or coco coir-based for sustainability).
- ● Grow lights or sunny windowsill: 12–16 hours of light daily (LED grow lights are energy-efficient).
- ● Plastic wrap or humidity dome: 1 sheet (to retain moisture while seeds germinate).
- ● Watering can or spray bottle: With a fine mist nozzle (avoid overwatering!).
- ● Fertilizer: Balanced organic fertilizer (5-5-5 or compost tea) for seedlings.
- ● Heating mat (70–80°F) to speed up germination.
- ● pH test kit (ideal soil pH: 6.0–6.8 for peppers).
- ● Transplanting pots (3–4 inches) for hardening off seedlings.
- ● Compost or worm castings (boosts soil health and reduces waste).
- ● Stakes or cages (for support as peppers grow tall).
Step-by-step instructions for growing bell peppers from seed
Here's my foolproof method for growing bell peppers that produce all season—no wasted effort, just flavorful harvests.
🌱 Step 1: Start Seeds Indoors 8-10 Weeks Before Last Frost
Fill 2-3 inch deep seedling trays with sterile seed-starting mix (never garden soil—it’s too dense and can harbor diseases). Press the mix down lightly to create a firm, even surface for seeds to root into. I like to use biodegradable pots because they eliminate transplant shock when it’s time to move peppers outside.
Plant seeds ½ inch deep—about twice their diameter—and space them 1 inch apart in the tray. Cover lightly with additional mix, then mist gently with water until the surface looks uniformly damp. Place the tray in a warm spot (ideal germination temperature is 75-85°F) and cover with plastic wrap to retain moisture. You’ll see sprouts in 7-14 days, depending on your home’s warmth.
☀️ Step 2: Provide Bright Light and Prevent Leggy Growth
The moment those first true leaves appear, move seedlings under a grow light or to a south-facing window. Bell peppers need 14-16 hours of light daily to grow strong and compact. Without enough light, seedlings stretch toward the source (called "legginess"), and those plants never recover. I keep my grow light 2-3 inches above the seedlings and raise it as they grow.
Rotate the tray a quarter turn daily so plants grow straight instead of leaning. You’ll notice seedlings with strong stems and deep green leaves—those are your winners. If a seedling looks pale or stretched, it’s begging for more light. Don’t skip this step; weak starts mean fewer peppers later.
🪴 Step 3: Harden Off and Transplant After All Frost Risk Passes
Two weeks before your last frost date, start hardening off seedlings by placing them outside in a sheltered spot for 1-2 hours the first day. Gradually increase their outdoor time by 1 hour daily, moving them to sunnier locations as they adapt. This toughens stems and leaves so they can handle full sun and wind without wilting.
Transplant after all frost risk has passed and soil temperatures reach 60°F or warmer. Space plants 18-24 inches apart in rows 24-30 inches apart to allow airflow and prevent disease. Bury seedlings slightly deeper than they were in pots—this encourages stronger root systems. Water deeply at the base to settle soil around roots.
💧 Step 4: Water Deeply and Maintain Consistent Moisture
Bell peppers hate soggy roots but also can’t tolerate drought. Water 1-1.5 inches per week, aiming for the soil rather than the leaves to prevent fungal diseases. I water in the morning so foliage dries quickly, reducing the risk of mildew. Let the top 1-2 inches of soil dry out between waterings—you’ll know it’s time when the surface feels dry to the touch.
Mulch around plants with 2-3 inches of organic mulch to retain moisture and keep roots cool. This is especially important in hot climates where soil can dry out fast. You’ll see peppers growing faster and staying healthier when roots stay consistently moist but not waterlogged.
✂️ Step 5: Prune and Harvest for Continuous Production
Remove any flowers or fruit that appear in the first 4-6 weeks after transplanting. This might seem counterintuitive, but it lets the plant focus on growing a strong root and stem system first. Once the plant is established, let it flower and set fruit. Prune suckers (the small shoots that grow in the leaf axils) to direct energy to fruit production.
Harvest peppers when they reach full color and size—typically 60-75 days after transplanting. Cut the stem with pruners to avoid damaging the plant. The more you harvest, the more your plant will produce. Store peppers in the fridge for up to 2 weeks or use them fresh in dishes. This zero-waste approach keeps your garden productive all season long.
Tips & tricks for growing thriving bell pepper plants
These insider tricks will help you avoid common pitfalls and maximize your bell pepper harvest from seed to table.
Seed Starting Secret: The sterile seed-starting mix is non-negotiable—garden soil contains pathogens that can kill delicate seedlings. I've ruined three batches using regular potting mix before learning this lesson. For even better results, mix in a handful of perlite to improve drainage in those 2-3 inch deep trays. This prevents root rot while maintaining the moisture those tiny seeds need.
Lighting Strategy: That 14-16 hours of daily light requirement isn't just about quantity—it's about quality. If your seedlings start stretching toward the light (legginess), you've waited too long. Keep your grow light just 2-3 inches above the tallest seedlings and adjust as they grow. I use a timer to automate this, ensuring consistent light cycles without manual adjustments every day.
Transplanting Technique: Burying seedlings slightly deeper than their original pot level might seem counterintuitive, but it works wonders. This buried stem grows new roots along its length, creating a stronger root system that translates to bigger yields. Just be gentle—peppers have shallow roots that bruise easily. Water deeply after transplanting to settle the soil around those new roots.
Watering Wisdom: The 1-1.5 inches per week guideline assumes average conditions, but your local climate matters. In hot, dry areas, you might need daily watering during peak summer months. I test soil moisture by sticking my finger 1-2 inches deep—when it feels dry, that's your watering cue. Mulching with 2-3 inches of organic material helps maintain this moisture balance while keeping roots cool.
Pro Tips for Bell Pepper Seed In Grow A Garden
- These insider tricks will help you avoid common pitfalls and maximize your bell pepper harvest from seed to table.
- Seed Starting Secret: The sterile seed-starting mix is non-negotiable—garden soil contains pathogens that can kill delicate seedlings.
- Lighting Strategy: That 14-16 hours of daily light requirement isn't just about quantity—it's about quality.
Frequently asked questions
Got questions about growing bell peppers from seed? You’re not alone—here are answers to the most common ones to help you grow a thriving, zero-waste garden!
How long does it take for bell pepper seeds to germinate?
Bell pepper seeds typically take 7–21 days to sprout, depending on temperature, soil moisture, and seed freshness. Keep soil consistently warm (70–85°F) and moist (not soggy) for the best results. A heat mat can speed up germination if your space is cool.
When is the best time to plant bell pepper seeds indoors vs. outdoors?
Start seeds indoors 8–10 weeks before your last frost date (use grow lights if needed). Transplant seedlings outdoors 2–3 weeks after the last frost when soil is at least 60°F and night temps stay above 55°F. Peppers hate cold, so wait until warm weather arrives! →
Can I grow bell peppers from store-bought seeds or do I need to buy specialty seeds?
Yes! Save seeds from organic, heirloom, or non-hybrid store-bought peppers (like sweet bell varieties). Avoid hybrids (marked "F1"), as they won’t produce true seeds. For best results, ferment seeds in water for 3 days before drying to improve viability.
Why aren’t my bell pepper seedlings growing? Troubleshooting slow or stunted growth.
Common culprits:
- Cool temps: Peppers need warmth—keep them above 60°F day/night.
- Overwatering: Let soil dry slightly between waterings to prevent rot.
- Low light: Seedlings need 12–16 hours of light daily (use grow lights if natural light is weak).
- Nutrient deficiency: Use a balanced fertilizer (like 5-5-5) when true leaves appear.
How do I maximize yield and minimize waste from my bell pepper plants?
To get the most from your plants:
- Prune wisely: Remove suckers (side shoots) to direct energy to fruit.
- Harvest regularly: Pick peppers when firm and fully colored to encourage more production.
- Use every part: Compost stems/leaves, ferment seeds, or blend unripe peppers into sauces!
- Extend the season: Use row covers or grow in containers to move indoors before frost.
Wrapping up and next steps
Growing bell pepper seeds is a rewarding journey that turns your garden into a vibrant, zero-waste haven! 🌱 With the right soil, sunlight, and care, you’ll enjoy a bountiful harvest of crisp, flavorful peppers—plus the satisfaction of sustainable living.
Whether you’re a beginner or a seasoned gardener, every seed planted is a step toward fresher food and a greener planet.
Ready to take the next step? Start by sketching your garden layout or ordering seeds today—your future harvest is just a few sprouts away! 🌟