
Lawn
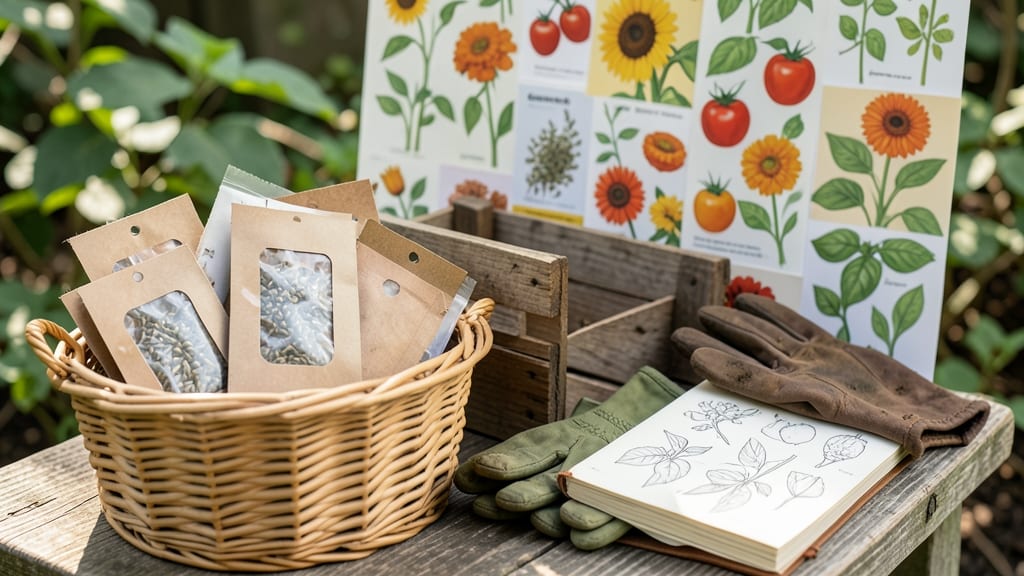
My seed packet art collection turned a chaotic garden into a storybook—each label whispers the plant’s history. 🌱 These aren’t just markers; they’re tiny works of art that transform your garden into a living museum of botanical heritage.
The key? Mixing vintage packets with handwritten notes or pressed flowers for a cottagecore vibe, or keep it sleek with modern calligraphy and minimalist designs.
You’ll need seed packets (thrift stores and Etsy are goldmines), twine or plant stakes, and a few basic supplies like scissors and glue. For extra flair, add dried lavender, watercolor washes, or even tiny illustrations.
The best part? It’s free if you already have packets—just repurpose what’s gathering dust in your pantry.
Imagine strolling through your garden, each plant labeled with its origin story—"Heirloom ‘Black Krim’ tomato, Ukraine, 1923"—while kids learn where their food comes from. The art elevates your space, and the process is oddly meditative. Even my black thumb can’t mess this up.
Works for any garden style, from wildflower meadows to neat herb spirals. Pro tip: Rotate designs with the seasons—spring brings pastels, summer pops with bold colors. Now grab those packets and let’s turn your labels into art!
📚 In This Guide
- What you need
- Instructions
- Tips and common mistakes
- Wrapping up and next steps
What you need
- ● Seed packets – Any shape, size, or material (paper, cardboard, or even recycled envelopes). Aim for 5–10 packets to start.
- ● Art supplies: Acrylic paint or watercolors (2–3 colors for a cohesive look)
- ● Paintbrushes (fine-tip for details, medium for backgrounds)
- ● Black or gold metallic marker (for crisp lettering)
- ● Adhesive – Mod Podge, glue stick, or double-sided tape to secure packets to stakes or labels.
- ● Plant stakes or wooden labels – Popsicle sticks, wooden dowels, or pre-made garden markers (cut to 4–6 inches tall).
- ● Washi tape or decorative paper strips for borders
- ● Glitter or confetti (for a magical touch)
- ● Clear sealant spray (to protect artwork from rain)
- ● Stencils or stamping tools (for intricate designs)
- ● Twine or ribbon (to hang packets as hanging labels)
Instructions for creating whimsical seed packet art markers
Turn ordinary seed packets into charming garden labels that keep your plants organized and your space playful.
🎨 Step 1: Gather Supplies and Prep Your Packets
Collect empty seed packets, scissors, a ruler, and a fine-tip marker or paint pen. I like to use packets from heirloom varieties—their vintage designs add instant character. Cut off the bottom flap of each packet to create a flat surface for writing. You’ll want to leave about ½ inch of the top intact so you can still read the plant name later.
Wipe any dust or residue from the packets with a damp cloth. If the paper feels greasy from printing inks, lightly sand it with fine-grit sandpaper to help your markers glide smoothly. This step ensures your designs stay crisp and don’t smudge when you plant.
✂️ Step 2: Design and Personalize Your Labels
Sketch your design directly on the packet with a pencil first. I often draw simple shapes like leaves, flowers, or tiny houses to match the plant type—tomatoes get little vines, while herbs might get a tiny mortar and pestle. Keep it simple: intricate details will blur when planted outdoors.
Use your fine-tip marker to trace over the pencil lines. For extra durability, seal the design with a thin layer of Mod Podge or clear acrylic spray. Let it dry completely before handling. This step protects your artwork from rain and soil while keeping it looking fresh all season.
🪴 Step 3: Add Plant Information and Insert Into Soil
Write the plant name and variety in neat block letters near the top of the packet. Include the planting date and any special notes like "needs trellis" or "harvest in 60 days." I like to add a tiny doodle of the mature plant next to the name—it’s a fun visual cue when scanning the garden later.
Push the packet into the soil at planting time, leaving about 1 inch above ground. For containers, tuck it into the soil mix or lean it against the pot’s edge. The packet will decompose naturally over time, but the design stays visible for months. This keeps your garden both beautiful and functional.
🌿 Step 4: Arrange and Display Your Garden Art
Group similar plants together for a cohesive look—maybe all your tomatoes in one corner with matching vine doodles. Add a few packets to your garden journal or hang them on a string as a decorative border. The key is to let your personality shine: bold colors, playful fonts, or even tiny QR codes linking to care tips.
Take a photo of your finished garden labels and share it with fellow gardeners. You’ll inspire others to turn their seed packets into art too. This step turns your markers into a conversation starter and a source of pride for your green space.
Tips & tricks for whimsical garden labels
Here's what nobody tells you about making seed packets pop—these little details make all the difference in your garden art.
Paper Prep Matters: Don't skip the sanding step if your packets feel greasy! I learned this the hard way after my first batch of designs smudged when I planted them. Use fine-grit sandpaper (around 220 grit) and work gently in one direction—this removes ink residue without tearing the paper. For extra smoothness, you can even run a dry erase marker over the surface before drawing, then erase it after your design is complete.
Design Simplicity Wins: Remember, these labels will be planted outdoors! Stick to bold, simple shapes that won't blur when wet. I find that outlines work better than filled-in designs—they're easier to sketch quickly and more visible against soil. For extra durability, use a fine-tip permanent marker for your final lines, especially if you're planting in rainy climates.
Sealing Secrets: The drying time for Mod Podge or acrylic spray can be deceiving. I always let my sealed designs sit for at least 2 hours before handling, even if they feel dry to the touch. This prevents smudging when you're pushing them into soil. Pro tip: Work on a protected surface like newspaper or parchment paper to avoid accidental stains on your work area.
Planting Placement: That 1-inch above-ground rule is your friend, but there's a trick to making it look intentional. Angle the packet slightly (about 15 degrees) when planting—this creates a more decorative look while keeping it stable. For containers, I like to tuck packets into the soil mix at a 45-degree angle so they're visible from all sides without toppling over.
Pro Tips for Seed Packet Art
- Here's what nobody tells you about making seed packets pop—these little details make all the difference in your garden art.
- Paper Prep Matters: Don't skip the sanding step if your packets feel greasy!
- Design Simplicity Wins: Remember, these labels will be planted outdoors!
Frequently asked questions
Got questions about turning seed packets into charming garden art? You’re not alone! Here are answers to the most common queries—so you can create stunning labels without the stress.
What’s the best way to preserve seed packet art from rain or sun?
Seal your artwork with a clear, waterproof sealant like Mod Podge Outdoor or a spray adhesive (e.g., Krylon Workable Fixatif). For extra durability, laminate the packets with clear packing tape or place them in small plastic sleeves. If left exposed, check labels weekly and reapply sealant as needed!
How long does it take for seed packet art to dry completely?
Drying time varies by material: water-based sealants (like Mod Podge) take 24–48 hours to cure fully, while spray adhesives dry faster (1–2 hours). Avoid touching or placing them in the garden until completely dry to prevent smudging or warping.
Can I use digital prints or photos instead of seed packets?
Print your designs on waterproof paper (like matte photo paper) or use laminated cardstock, then cut to size. For a rustic look, glue printed images onto repurposed seed packets or wooden tags. Just ensure the material won’t degrade when wet—test a small piece first!
Why is my seed packet art peeling or bubbling after installation?
Peeling often happens from moisture trapped between layers or using non-waterproof glue. Fix it by:
- Peeling? Reapply sealant and press gently.
- Bubbling? Let it dry flat in a warm, dry place before outdoor use.
- Prevent future issues: Use acrylic medium (like Liquitex) for extra adhesion.
How do I keep labels from fading in full sun?
Sunlight fades colors over time, but you can slow it down by:
- Choosing UV-resistant sealants (like DecoArt DuraClear).
- Placing labels in shaded areas (e.g., under plant leaves).
- Reapplying a thin layer of sealant every 6–12 months.
Wrapping up and next steps
Seed packet art isn’t just a creative way to label your garden—it’s a delightful blend of functionality and fun that turns your green space into a personalized masterpiece. Whether you’re a seasoned gardener or a beginner, these whimsical markers add charm while keeping your plants organized. 🌱✨
Ready to give it a try? Start small—grab a seed packet, a few craft supplies, and let your imagination grow! Your garden (and your neighbors) will thank you.