
Lawn
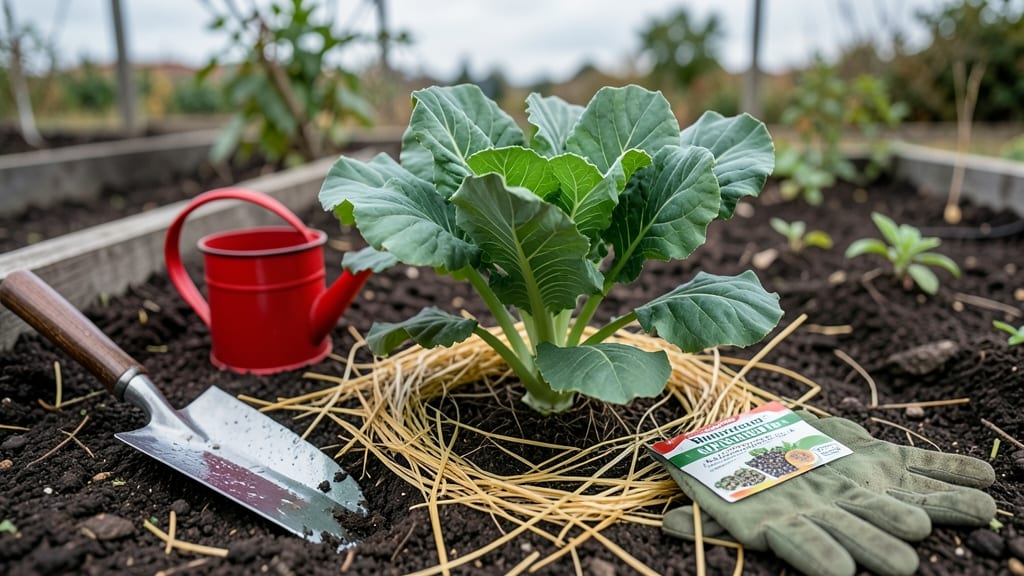
Fall seeding gives you a head start on spring blooms while nature does the hard work for you. ✨ The secret lies in letting winter's chill break dormancy—no fancy equipment needed, just timing and the right plants.
I've used this method for years to grow vibrant tulips and hardy perennials that emerge earlier than store-bought starts.
Cool temperatures actually help seeds germinate better than summer heat, while fewer pests mean stronger seedlings. You'll need a sunny spot, well-draining soil, and a light mulch layer—simple supplies that transform into next year's showstopper garden. Perfect for beginners who want foolproof results without the springtime rush.
By planting now, you'll see those first green shoots pushing through soil in early spring, ready to bloom weeks ahead of schedule. The flowers will be bigger, the plants more established, and you'll have the satisfaction of knowing you gave them the perfect winter start.
This method works for bulbs, perennials, and even some cool-season vegetables.
Works in most climates with zones 3-8, though timing varies slightly by region. The key is planting 6-8 weeks before your first hard frost—just enough time for roots to establish before winter sets in. Your garden will thank you next spring with less work and more wow factor.
📚 In This Guide
- What you need
- Instructions
- Tips and common mistakes
- Wrapping up and next steps
What you need
- ● Seeds: Choose cold-hardy varieties like lupines, poppies, or wildflowers (1–2 lbs, depending on planting area). Opt for untreated, organic seeds for best results.
- ○ Growing Medium: Potting Soil: 1–2 cubic feet of well-draining, sterile mix (e.g., Pro-Mix or cactus/succulent blend). Optional Add-Ins: Perlite or vermiculite (1 part per 4 parts soil) for aeration.
- ● Containers: Seed Trays: 10x20-inch trays with drainage holes (2–4 trays, depending on seed volume). OR Small pots (3–4 inches deep, 12+ units) for individual stratification.
- ● Cold Stratification Tools: Refrigerator or Cold Frame: Set to 35–45°F (ideal for stratification). Plastic Bags or Moisture-Retentive Covers: Clear zip-top bags or damp sphagnum moss (for humidity control).
- ○ Watering Supplies: Spray Bottle: For gentle moisture (avoid overwatering!). Misting Nozzle: (Optional) For larger trays.
- ● Gloves: Gardening gloves (to protect hands from soil and seeds).
- ● Labeling Supplies: Waterproof markers + labels (track seed types and dates!).
- ○ Grow Lights (Optional): LED lights (12–16 hrs/day) if indoor sprouting extends beyond winter.
- ○ Heat Mat (Optional): For germinating warm-season seeds post-stratification (e.g., 70–75°F setting).
- ● Transplanting Tools: Small trowel or spoon (for moving seedlings). Garden twine (to mark planting spots in outdoor beds).
Step-by-Step instructions for fall seed stratification
Here's how I prepare seeds for spring blooms by mimicking nature's winter chill.
🌱 Step 1: Gather and Prepare Your Seeds
Collect seeds from mature plants or purchase fresh packets—older seeds may need longer stratification. I always check the packet for specific instructions, as some seeds (like poppies) require scarification instead. For most perennials and wildflowers, place the seeds in a paper towel or between layers of dampened peat moss in a sealed container.
Moisten the material until damp but not soggy—think of a wrung-out sponge. The goal is even moisture without pooling water. If using a zip-top bag, leave it slightly open for airflow during the first week to prevent mold. You'll know it's right when the seeds feel cool to the touch but don't stick together.
💧 Step 2: Replicate Winter Conditions
Place the sealed container in a refrigerator set to 35-40°F—this mimics natural winter chilling. I use the crisper drawer because it maintains consistent temperatures without fluctuations. Store seeds upright so moisture distributes evenly, and check weekly to refresh moisture if the material feels dry.
Most seeds need 6-12 weeks of cold treatment, but some (like trillium) require up to 6 months. I label each container with the seed type and date to avoid confusion. If you forget, watch for sprouting—when you see tiny root hairs or swollen seeds, stratification is complete.
☀️ Step 3: Transition to Warmth and Light
After the cold period, remove seeds from the fridge and place them in a warm (65-75°F) spot for 24-48 hours to simulate spring thaw. This gradual shift prevents shock. I use a seedling heat mat under a shallow tray of water to encourage consistent warmth without overwatering.
Once seeds show signs of life—first green tips or curled roots—plant them in moistened seed-starting mix at the depth recommended on the packet (usually two times the seed diameter). Cover lightly with a humidity dome or plastic wrap to retain moisture until germination begins.
⏰ Step 4: Monitor Germination and Early Growth
Keep the soil consistently moist but not soggy—water when the top inch feels dry. Most stratified seeds sprout within 7-21 days, but some may take longer. I use a small fan on low setting near the tray to strengthen seedlings without drying them out.
When first true leaves appear (not the initial seed leaves), remove the dome and provide bright, indirect light for 12-14 hours daily. Avoid direct sun until seedlings are sturdy—you'll see leggy growth if light is insufficient. Thin seedlings to 2-3 inches apart once they have 2-3 sets of leaves to prevent overcrowding.
🌿 Step 5: Harden Off Before Outdoor Planting
Two weeks before your last frost date, begin hardening off seedlings by placing them outside in a sheltered, shaded spot for 1-2 hours the first day. Gradually increase exposure over 10-14 days, ending with full sun. This prepares them for outdoor conditions without shock.
Plant outdoors after all danger of frost has passed, spacing according to mature plant size. Water deeply at planting and mulch with 1-2 inches of organic matter to retain moisture. You'll know they're thriving when new growth appears within 2-3 weeks of transplanting.
Tips & tricks for perfect fall seed stratification
These simple strategies will help you mimic nature's winter chill like a pro—no guesswork required.
Moisture Matters: In Step 1, when dampening your paper towel or peat moss, squeeze it gently until it holds together but doesn't drip. Too much moisture causes mold, while too little prevents germination. I test by pressing my finger into the material—it should feel like a wrung-out sponge, not a dripping washcloth. This balance is critical for the entire 6-12 week process.
Labeling System: Trust me on this—write the seed type and date on each container in Step 2. I've learned this the hard way after mixing up batches. Use a permanent marker on the container lid or tape a label directly to the bag. Include both the seed variety and the date you started stratification. This prevents confusion when checking for sprouting after 6-12 weeks.
Temperature Consistency: The refrigerator's crisper drawer maintains 35-40°F perfectly, but if you use the main compartment, monitor temperatures weekly. Some fridges fluctuate—especially near the door. If your seeds aren't sprouting after the full 6-12 weeks, they may have experienced temperature swings. For extra insurance, place a small thermometer inside the container.
Visual Sprouting Cues: In Step 4, watch for these subtle signs that stratification is complete: tiny root hairs emerging from the seed coat, or seeds that appear slightly swollen compared to their original size. These visual cues are more reliable than just counting weeks, especially for seeds with longer stratification needs like trillium (up to 6 months). Once you see these signs, it's time to transition to warmth.
Pro Tips for Seed In The Fall
- These simple strategies will help you mimic nature's winter chill like a pro—no guesswork required.
- Moisture Matters: In Step 1, when dampening your paper towel or peat moss, squeeze it gently until it holds together but doesn't drip.
- Labeling System: Trust me on this—write the seed type and date on each container in Step 2.
Frequently asked questions
Got questions about seeding in the fall?
You’re not alone! Here are answers to the most common queries—from timing to troubleshooting—to help you prep like a pro for spring blooms.
When is the absolute latest I can plant fall seeds?
Most cool-season grasses and flowers thrive when seeded 4-6 weeks before the first hard frost (typically late September to early October in most U.S. zones). If you miss that window, aim for early spring—just avoid planting when soil temps exceed 60°F (15°C) to prevent seed dormancy issues.
Do I need to cover seeds if frost hits?
Yes! A light straw mulch (¼–½ inch) or frost cloth protects seeds from freezing while allowing moisture and light through. Remove it once sprouts emerge (usually 7–14 days post-planting). Pro tip: Avoid thick layers—too much heat can suffocate seeds!
What if my seeds don’t sprout by spring?
Don’t panic! Cold stratification (nature’s way of prepping seeds) can delay germination until soil temps hit 50–60°F (10–15°C). If seeds are viable but dormant, try:
- Lightly raking the soil to expose them to air/water.
- Watering deeply (but not soggy) to trigger swelling.
- Checking for pests (birds, rodents, or fungus) if no sprouts appear after 3 months.
Can I use last year’s leftover seeds?
Maybe! Store seeds in a cool, dry place (35–40°F / 2–4°C) with silica gel packets to prevent moisture. Most retain viability for 1–2 years (check the packet for specifics). If seeds are older than 3 years or clumped together, toss ‘em—they’ve likely lost potency. Test a few in a damp paper towel to see if they sprout before committing to your lawn.
What’s the easiest alternative if fall seeding feels overwhelming?
Try hydrated seed blankets or pre-grown sod for instant coverage. For flowers, opt for plugs or transplants (like pansies or violas) that thrive in cool weather. If you’re seeding, rent a seed spreader—it’s worth the $20/day to avoid clumps or bare spots!
Wrapping up and next steps
Planting seeds in the fall isn’t just a gardening hack—it’s a game-changer for vibrant spring blooms! By mimicking nature’s cold stratification, you’re giving your seeds a head start, ensuring stronger roots and healthier growth when warmer weather arrives. 🌱
Now that you’re armed with the right tools and know-how, there’s no time like the present to roll up your sleeves and start sowing! Pick a handful of seeds, test your soil, and let nature do the rest. Your future garden will thank you.
- Next step: Grab your seed packet and find a cozy spot in your yard or a container to begin!