
Lawn
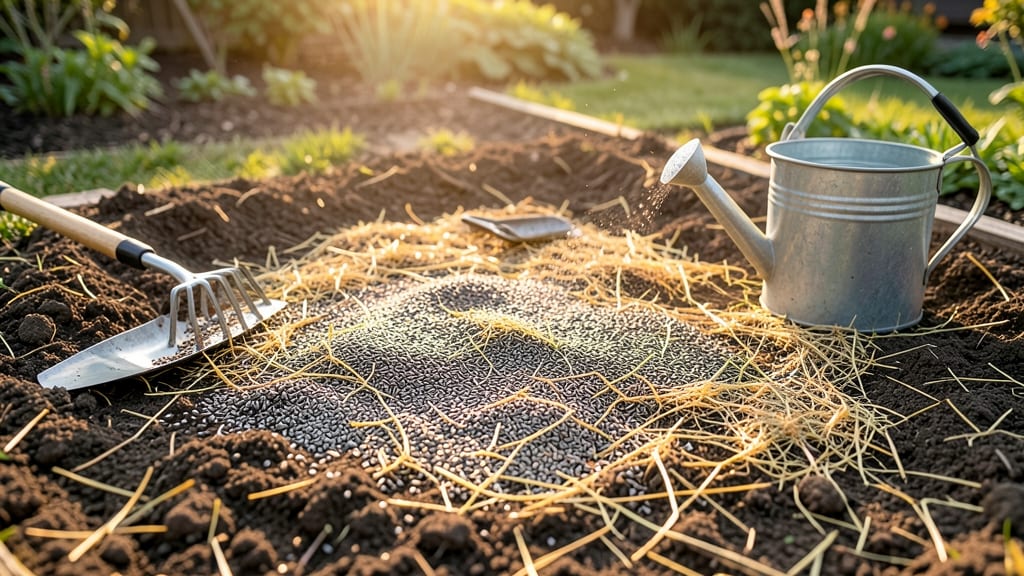
Your new lawn starts with a moist seedbed that never dries out—straw mulch holds the key. 🌱 After scattering seed, I learned the hard way that proper mulch application makes the difference between patchy germination and a thick, even carpet of grass.
The right layer keeps seeds hydrated while blocking weeds, but too much smothers them entirely.
Straw is the gold standard for most climates, but peat moss works in cooler regions. Aim for a ¼-inch layer—enough to shade soil but thin enough to let sunlight reach seedlings.
Rake it gently after sowing so it doesn’t shift with wind or rain. For drought-prone areas, consider a ⅛-inch layer of straw mixed with compost for extra moisture retention.
You’ll see the first sprouts in 7-14 days, with the mulch doing double duty as weed armor. The secret is consistency: check moisture weekly and reapply mulch if it decomposes or blows away. Over-mulching is the biggest mistake—it traps heat and invites fungus, so keep it light and fluffy.
This method works for cool-season grasses in fall or warm-season varieties in spring. Just adjust timing to avoid summer heat stress. Once the grass reaches 2-3 inches, you can mow through the mulch—it’ll break down naturally and feed your lawn.
📚 In This Guide
- What you need
- Instructions
- Tips and common mistakes
- Wrapping up and next steps
What you need
- ● High-quality lawn seed: Choose a blend suited to your climate and grass type (e.g., 10–20 lbs for a 1,000 sq. ft. area). Opt for fine-textured seeds for better mulch adhesion.
- ● Straw mulch: Use straw (not hay!)—about ½ to 1 pound per 100 sq. ft.—for its weed-free, lightweight properties. Avoid dyed or treated straw.
- ● Water: A garden hose with a gentle spray nozzle (e.g., ½-inch tip) for even hydration.
- ● Broadcast spreader: A handheld or drop spreader for even seed distribution (calibrate for your seed type!).
- ● Rake (bow or leaf rake): A medium-tooth rake (¼–½ inch spacing) to lightly fluff soil and spread mulch.
- ● Garden gloves: Durable, water-resistant gloves to protect your hands from prickly straw.
- ○ Soil tester (optional but helpful): A pH test kit to ensure your soil is in the ideal range (6.0–7.0) for seed germination.
- ● Prepped soil: Clear debris, loosen soil to ¼-inch depth, and level the area. Avoid compacted or rocky soil.
- ● Weather check: Plan for a cool, cloudy day (or early morning/evening) to prevent seed drying. Aim for 50–70°F temps.
- ● Water source nearby: Ensure easy access to water for daily light misting (10–15 minutes) until seeds sprout (~7–21 days).
How to apply lawn seed mulch for germination success
Here’s the method I’ve used for years to keep new grass seeds moist, block weeds, and protect tender sprouts.
🌱 Step 1: Prepare the Soil Before Seeding
Start by raking the soil until it’s smooth and free of clumps. You want a fine, even surface so seeds make consistent contact with the earth. I like to run a stiff-bristle rake over the area to create tiny grooves—this helps seeds nestle just below the surface without being buried too deep.
Test the soil moisture by squeezing a handful. It should hold together when pressed but not crumble or leave water dripping. If it’s too dry, water lightly until the top 2 inches feel damp. If it’s too wet, wait a day or two for excess moisture to evaporate—seeds rot in soggy soil.
💧 Step 2: Spread Seeds Evenly and Lightly Water
Scatter the lawn seed using a broadcast spreader or by hand, working in small sections. I tap the seed packet gently to release one seed at a time—planting too many in one spot leads to weak, crowded seedlings. Aim for a coverage rate matching your seed packet’s recommendations (usually 5-10 pounds per 1,000 sq ft).
Once seeds are down, water gently with a fine mist or sprinkler until the soil looks uniformly damp but not saturated. You’ll know it’s right when the surface looks slightly darker, not glistening. Avoid heavy watering now—you’ll see seeds wash away or sink too deep, delaying germination.
✂️ Step 3: Apply Mulch for Moisture and Protection
Use straw mulch (not wood chips or hay—these can contain weed seeds or decompose too quickly). Spread it evenly over the seeded area, keeping the layer ¼ inch thick. This thin layer blocks weeds, retains moisture, and shields seeds from drying winds or bird pecking.
I like to use a drop spreader for even coverage, but a rake works too. Watch for bare spots—these will dry out faster and leave gaps in your lawn. Lightly press the mulch down with your hands or a roller to ensure good seed-to-soil contact.
☀️ Step 4: Maintain Consistent Moisture for Germination
Water lightly every 2-3 days until seeds sprout, keeping the mulch damp but never soggy. You’ll see the first green shoots in 7-14 days, depending on your grass type. Once germination starts, reduce watering to 1-2 times weekly—overwatering now can cause seedling rot.
Keep the mulch in place until the grass reaches 2-3 inches tall. At that point, you can rake it away or let it decompose naturally. Real talk: If you skip this step, seeds dry out or get baked by the sun—your mulch is the difference between a lush lawn and a patchy mess.
⏰ Step 5: Transition to Regular Lawn Care
After 4-6 weeks, when grass is 3-4 inches tall, it’s time to mow for the first time. Set your mower blade to 3 inches high—never cut more than ⅓ of the blade length at once. This strengthens roots and prevents shock.
Remove any remaining mulch residue and fertilize lightly with a starter blend. You’ll notice the grass thicken and fill in gaps within a few weeks. The key is patience—rushing watering or mowing too early will set your new lawn back months.
Tips & tricks for perfect lawn seed mulch application
Here's what nobody tells you about getting that perfect seed-to-soil connection and keeping your new lawn thriving from the start.
Soil Prep Secret: After raking in Step 1, run a stiff-bristle rake over the area to create tiny grooves—this helps seeds nestle just below the surface without being buried too deep. The goal is to create a fine, even surface where seeds make consistent contact with the earth. I like to do this in two directions (like crosshatching) for the best results. This tiny detail makes all the difference for even germination.
Mulch Layering Technique: When applying your ¼ inch thick straw mulch in Step 3, use a drop spreader for even coverage or a rake for more control. Watch for bare spots—they'll dry out faster and leave gaps in your lawn. I've learned the hard way that uneven mulch application leads to patchy growth. Lightly press the mulch down with your hands or a roller to ensure good seed-to-soil contact without compacting the soil too much.
Watering Wisdom: The key to maintaining consistent moisture in Step 4 is watering lightly every 2-3 days until seeds sprout. You'll know you're doing it right when the surface looks uniformly damp but not saturated—it should look slightly darker, not glistening. I use a gentle rain setting on my sprinkler to avoid disturbing the seeds. Overwatering now can cause seedling rot, so it's better to water more frequently with less water than to soak the area.
Transition Timing: In Step 5, when your grass reaches 2-3 inches tall, it's time to remove the mulch. I've found that waiting until this height prevents disturbing the tender roots while still allowing the mulch to do its job. The mulch should decompose naturally over time, providing nutrients to your new lawn. Remember, patience is key—rushing the process can set your lawn back months.
Pro Tips for Lawn Seed Mulch
- Here's what nobody tells you about getting that perfect seed-to-soil connection and keeping your new lawn thriving fr...
- Soil Prep Secret: After raking in Step 1, run a stiff-bristle rake over the area to create tiny grooves—this helps se...
- Mulch Layering Technique: When applying your ¼ inch thick straw mulch in Step 3, use a drop spreader for even coverag...
Frequently asked questions
Got questions about lawn seed mulch? You’re not alone! Here are some of the most common concerns—and straightforward answers—to help you get the best results for your lawn.
What’s the best time of year to apply lawn seed mulch?
For cool-season grasses (like fescue or ryegrass), apply mulch in early fall or late spring when soil temps are 60–75°F. Warm-season grasses (like Bermuda or Zoysia) thrive with mulch in late spring to early summer. Always mulch after seeding but before germination to lock in moisture.
How thick should the mulch layer be for new grass seed?
Aim for a ¼-inch layer—thin enough to allow sunlight to reach the soil but thick enough to retain moisture. Too much (over ½ inch) can smother seeds or block germination. Use a rake to spread evenly for consistency.
Can I use straw instead of peat moss or compost for mulching?
Straw
is a popular, affordable alternative—just ensure it’s weed-free and free of seeds. Avoid hay (it may contain weed seeds). Other options: peat moss (holds moisture well) or compost (adds nutrients). Test a small patch first if unsure!
Will mulch attract pests like rodents or insects?
Not if you choose the right materials! Straw and peat moss are pest-resistant, but wet mulch can attract slugs or fungi. Keep mulch dry on top and aerate your lawn occasionally. If rodents are a problem, opt for composted bark (less appealing to burrowers).
How long does mulch last before needing replacement?
Mulch breaks down over time—typically 2–4 weeks for straw, longer for peat moss. Monitor moisture levels; if the top layer dries out or compacts, fluff it up or add a thin fresh layer. Once seeds sprout (usually 7–21 days), you can remove most of the mulch to avoid smothering new grass.
Wrapping up and next steps
Transforming your lawn with lawn seed mulch is a game-changer for moisture retention, weed control, and healthy growth—without the hassle! By following the right layering techniques and using quality materials, you’ll create an ideal environment for seeds to thrive while keeping weeds at bay. 🌱
Ready to see the results? Grab your supplies, roll up your sleeves, and give your lawn the care it deserves. Start small if needed, but don’t wait—your future lush green space is just a few steps away! 💪
Next step: Mark your calendar for a follow-up watering session in 7-10 days to ensure those seeds stay snug and happy.