
Planting
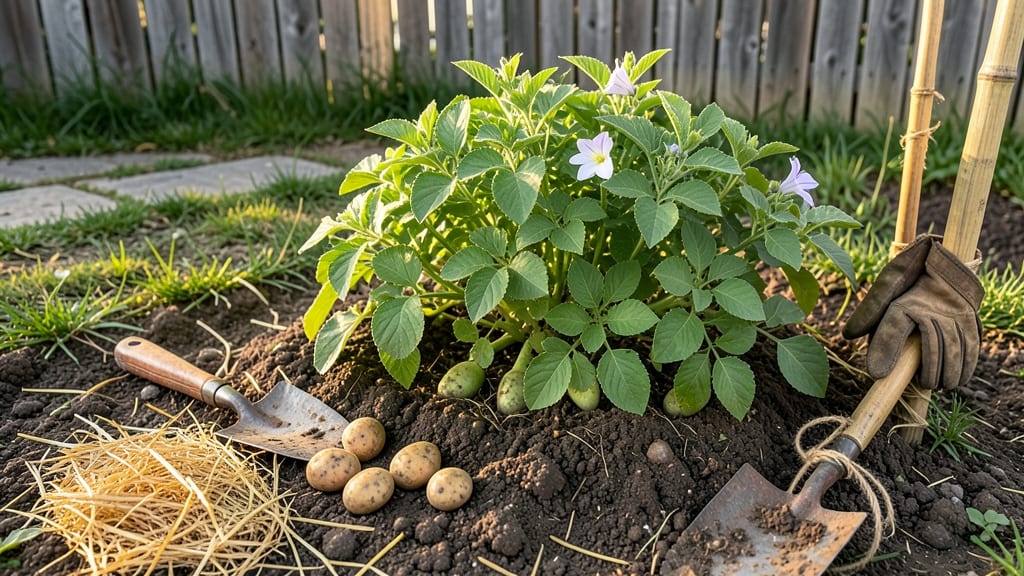
Planting seed potatoes in the ground transforms those little eyes into a harvest that feeds you for months. 🌱 I’ve grown hundreds of pounds of potatoes using this layered soil method—no fancy tools, just smart prep and patience. The secret? Loose, nutrient-rich soil that lets those tubers swell without competition.
Start by cutting seed potatoes (not grocery store spuds) into chunks with at least two eyes each, then let them cure for a week. Plant them 4–6 inches deep in trenches spaced 12–18 inches apart, with the eyes facing up.
As the stems grow, mound soil around them to encourage more tuber formation—this trick alone doubles my harvest.
Water consistently to keep soil moist but not soggy, and mulch heavily to retain moisture and deter weeds. By midsummer, you’ll see foliage thick enough to shade the soil, and by harvest time, you’ll pull out potatoes that fill your basket.
The best part? This method works in containers too, so even small spaces get a bounty.
Common mistakes? Planting too deep or using regular potatoes (they’re treated to prevent sprouting). Stick to certified seed potatoes, and you’ll avoid disease and get stronger plants. Now grab those spuds—they’re ready to grow!
📚 In This Guide
- What you need
- Instructions
- Tips and common mistakes
- Wrapping up and next steps
What you need
- ● Seed potatoes: 2–3 lbs (enough for ~10–15 plants; choose certified disease-free "seed" potatoes, not grocery-store spuds).
- ● Garden soil: Well-draining, loose loam (pH 5.0–6.5). Test soil or amend with compost if needed.
- ● Garden fork or tiller: For loosening soil to a depth of 12 inches.
- ● Garden hose or watering can: With a gentle spray nozzle for even watering.
- ○ Garden twine or stakes (optional but helpful): For hilling soil later (1–2 ft lengths per plant).
- ● Mulch (straw, grass clippings, or leaves): 2–3 inches to retain moisture and suppress weeds.
- ● Potato planter or dibber: For precise planting holes (1–2 inches deep).
- ● Soil thermometer: To ensure soil is at least 45°F before planting (warmer climates: wait until soil cools post-frost).
- ● Organic fertilizer (5-10-10 or compost): 1–2 cups per planting area for nutrient boost.
- ● Row covers or frost cloth: For early planting in cold regions (removes after sprouts emerge).
- ● Garden gloves: To keep hands clean while handling soil and potatoes.
Step-by-Step instructions for planting seed potatoes in the ground
Here's the foolproof method I use to grow bumper crops—no fancy tools, just smart layering.
🌱 Step 1: Chit Your Seed Potatoes Before Planting
Place your seed potatoes in a bright, cool spot (50-60°F) for 4-6 weeks before planting. This lets them develop chits—those little white shoots that look like tiny potatoes with sprouts. I store mine in an egg carton on my kitchen windowsill, turning them weekly so all sides get light.
The reason we chit is simple: plants with established shoots grow faster and produce more tubers. You'll know they're ready when you see 1-2 inch chits forming. If your potatoes arrive with sprouts already, skip this step—just plant them directly.
🪴 Step 2: Prepare the Soil in Rows or Hills
Choose a spot with full sun and loose, well-draining soil. Work in 2-3 inches of compost into the top 6 inches of soil to give tubers plenty of room to grow. I like to create 12-inch high hills (mounds) spaced 3 feet apart—this prevents soil from caking around the potatoes and makes harvesting easier.
For rows, dig 6-inch deep trenches spaced 3 feet apart. The key is loose soil—compacted earth restricts root growth and leads to small, misshapen potatoes. If your soil is heavy clay, mix in sand or perlite to improve drainage.
⏰ Step 3: Plant Chitted Potatoes at the Right Depth
Place each seed potato 4 inches deep in the soil, with the chits facing up. Space them 12 inches apart in rows or 18 inches apart in hills. I use a trowel to create small pockets—this prevents disturbing the roots when covering them.
Cover lightly with soil, leaving the chits exposed. Wait 2 weeks, then add 2 more inches of soil to encourage more tuber formation. Repeat this earthing-up process every 2 weeks until the hills are 6 inches high. This creates ideal conditions for potatoes to grow upward instead of staying small.
💧 Step 4: Water and Mulch for Consistent Moisture
Water deeply once a week (or more in hot weather) to keep the soil evenly moist but not soggy. Potatoes need 1-1.5 inches of water per week, but they hate wet feet—always water at the base, not overhead. I use a soaker hose to deliver water slowly without disturbing the soil.
Apply 2-3 inches of straw mulch around the plants to retain moisture and suppress weeds. Mulch also keeps soil temperatures stable, which is critical for tuber development. Check moisture by sticking your finger 2 inches deep—if it feels dry, it's time to water.
☀️ Step 5: Monitor and Harvest at Peak Maturity
When the flower stalks appear, your potatoes are about halfway done growing. Stop earthing up at this point—too much soil can cause the tubers to turn green and bitter. Watch for yellowing leaves as a sign of maturity, usually 90-120 days after planting.
Harvest on a dry, sunny day when the soil is dry. Use a fork to loosen the soil around the plants, then gently lift them out. Let them cure in a dark, cool (55-60°F) place for 1-2 weeks before storing. This toughens the skins and prevents bruising.
Tips & tricks for perfect seed potato planting
These simple tricks will help you avoid common mistakes and maximize your potato harvest.
Chit Check: Don't rush the 4-6 week chitting process—those 1-2 inch chits are your ticket to faster growth. I've seen potatoes with shorter chits struggle to break through dense soil. If your sprouts are uneven, place them in direct sunlight for a few hours to encourage consistent growth.
Soil Prep Secret: The loose soil in Step 2 is non-negotiable. I like to add a handful of coarse sand to heavy clay soils to improve drainage. For the 2-3 inches of compost, I mix it with the top 6 inches of soil using a broadfork—this aerates without disturbing deeper layers where roots will grow.
Earthing-Up Timing: Those 2-week intervals between earthing-ups are crucial. If you wait too long between additions, you risk exposing potatoes to light, which turns them green and bitter. I mark my calendar with reminders since summer weather can make time fly.
Harvesting Hack: When harvesting, gently brush away soil rather than washing potatoes immediately. The curing period in Step 5 helps develop thicker skins, but wet potatoes can't cure properly. I store them in open cardboard boxes in a dark basement corner for that 1-2 week cure.
Pro Tips for Plant Seed Potatoes In The Ground
- These simple tricks will help you avoid common mistakes and maximize your potato harvest.
- Chit Check: Don't rush the 4-6 week chitting process—those 1-2 inch chits are your ticket to faster growth.
- Soil Prep Secret: The loose soil in Step 2 is non-negotiable.
Frequently asked questions
Got questions about planting seed potatoes? You’re not alone! Here are answers to the most common queries—so you can grow a thriving crop with confidence.
When is the best time to plant seed potatoes?
Plant seed potatoes 4 to 6 weeks before your last frost date (typically late winter to early spring). They need cool soil (40–50°F) to sprout but won’t survive frost. In warmer climates, plant in fall for a winter harvest!
Can I use store-bought potatoes as seed potatoes?
Technically yes, but organic, disease-free seed potatoes are best. Store-bought potatoes may carry diseases or sprout unevenly. If you’re experimenting, choose small, firm potatoes (like russets) and let them sprout in a sunny window first.
How long does it take for potatoes to grow after planting?
Count on 90–120 days from planting to harvest, depending on the variety. Early varieties (like ‘Yukon Gold’) mature in ~70 days, while late varieties (like ‘Idaho Russet’) take longer. Check soil temps and plant depth—too deep or too warm can delay growth.
What should I do if my seed potatoes rot in the ground?
Rot usually means too much moisture or poor drainage. Plant in well-drained soil, avoid overwatering, and consider raised beds. If rot starts, dig up affected tubers, discard them, and treat remaining plants with copper fungicide to prevent spread.
Can I plant potatoes in containers or small spaces?
Use 5-gallon buckets or deep pots (12+ inches) with drainage holes. Plant 1–2 seed potatoes per container, using a high-quality potting mix. Varieties like ‘Red Pontiac’ or ‘Fingerlings’ thrive in small spaces—just harvest carefully to avoid damaging tubers.
Wrapping up and next steps
Planting seed potatoes is a rewarding way to grow your own fresh, hearty harvest—just remember to chit your tubers, choose the right soil, and layer them properly for the best yield!
With a little patience and care, you’ll soon be enjoying homegrown potatoes that taste even better than store-bought. 🌱✨
Now that you’re ready to dig in, why not mark your calendar for harvest time (usually 90–120 days later) and plan your next gardening adventure? Happy planting!