
Propagation
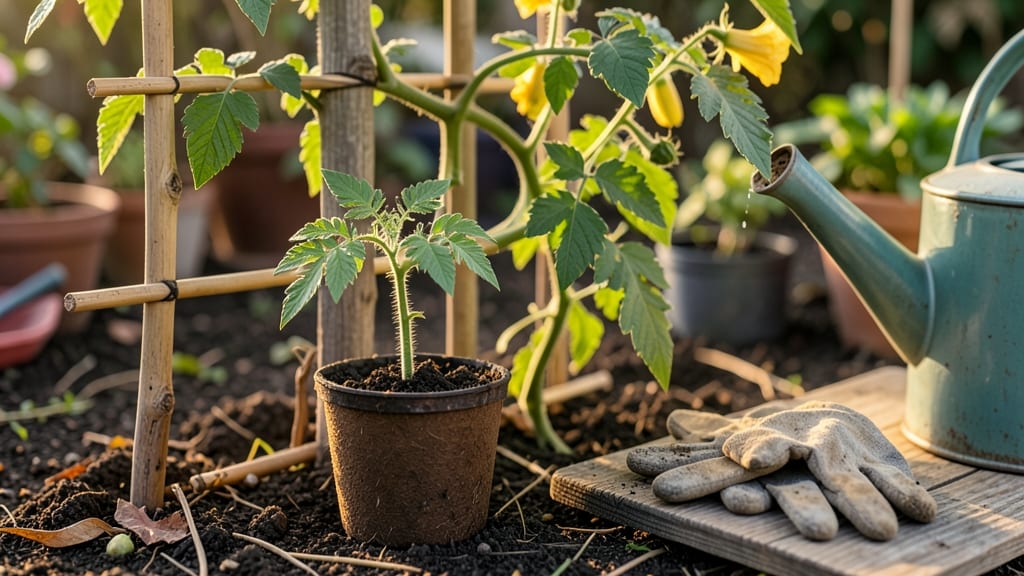
Growing tomatoes from seed outdoors lets you beat the nursery prices and choose heirlooms that disappear by June. 🌱 I’ve started over 200 seeds in my backyard, and the key to success isn’t fancy equipment—it’s timing the first frost date and giving seedlings the right conditions from day one.
Skip the indoor start if you live in warm zones, but most gardeners need to begin seeds 6-8 weeks before last frost for sturdy transplants.
The magic happens in full sun and well-draining soil. I mix compost into garden beds to boost fertility, and my seedlings get 6+ hours of sunlight daily—no grow lights needed once they’re outside.
Water gently at the base (no overhead spraying) to avoid fungal diseases like damping-off, which turns young stems to mush overnight. Most seeds sprout in 5-10 days if kept warm and moist.
By transplanting at 4-6 inches tall, you’ll see vines exploding with growth within weeks. The payoff? Homegrown tomatoes that outperform store-bought plants—heirloom flavors, disease resistance, and vines that keep producing until frost.
Even my first attempt last year gave me 20 pounds of tomatoes from just 10 plants.
This method works for determinate (bush) and indeterminate (vining) varieties, though indeterminates need staking. Whether you’re in Zone 5 or 10, adjust your start date to match local conditions. Here’s how to troubleshoot common pitfalls like leggy seedlings or slow germination—so you avoid my early mistakes.
📚 In This Guide
- What you need
- Instructions
- Tips and common mistakes
- Wrapping up and next steps
What you need
- ● Tomato seeds: 5–10 seeds per variety (choose disease-resistant types like Early Girl or Cherry Roma for beginners).
- ● Seed-starting mix: 1–2 gallons of sterile, seedling-specific potting soil (avoid garden soil—it’s too dense!).
- ● Containers: Small seed trays (with drainage holes) or
- ● 4–6 oz peat pots, egg cartons, or biodegradable pots (2–3 inches deep).
- ● Grow lights or sunny windowsill: A fluorescent or LED grow light (12–16 hours/day) or a south-facing window with direct light.
- ● Spray bottle: For gentle watering (avoid over-saturating seeds!).
- ● Plastic wrap or dome: To create a mini greenhouse and retain humidity.
- ○ Heat mat (optional but helpful): A seedling heat mat (70–75°F) speeds up germination.
- ● Larger pots or garden bed: 5–7 gallon containers or a sunny garden spot (6+ hours of light daily).
- ● Well-draining potting mix: 1–2 bags of organic garden soil mixed with compost.
- ● Stakes or cages: 6–8 ft tomato cages or sturdy bamboo stakes (1–2 per plant).
- ● Fertilizer: Balanced organic fertilizer (e.g., 10-10-10) or compost tea for transplanting.
- ● Mulch: Straw or shredded leaves to retain moisture and suppress weeds.
- ● Pruning shears: For pinching suckers and harvesting.
- ● Label seeds! Use toothpicks and markers to track varieties—trust us, you’ll thank yourself later. 🏷️
- ● Test soil pH: Aim for 6.0–6.8; adjust with lime or sulfur if needed.
- ● Hardening off: Acclimate seedlings to outdoor temps 1–2 weeks before transplanting. ☀️
Step-by-step guide to growing tomatoes from seed outdoors
Here's how I transform tiny seeds into thriving tomato plants ready for the garden.
🌱 Step 1: Start Seeds Indoors 6-8 Weeks Before Last Frost
Fill seed trays with sterile seed-starting mix and sow seeds ¼ inch deep, spacing them ½ inch apart. Tomatoes need warmth to germinate, so place trays on a seedling heat mat set to 75-85°F. Keep the soil consistently moist—never soggy—using a spray bottle to avoid disturbing seeds.
Cover trays with clear plastic domes or plastic wrap to retain humidity. Germination typically occurs in 7-14 days, though cooler rooms may take longer. The moment you see first true leaves (not the initial seed leaves), remove the cover immediately to prevent damping-off disease.
☀️ Step 2: Provide Optimal Light for Strong Seedlings
Tomato seedlings need 14-16 hours of light daily from day one to prevent leggy growth. Place trays under full-spectrum LED grow lights positioned 2-4 inches above plants. Raise lights weekly as seedlings grow to maintain this distance.
Watch for signs of light deficiency: pale stems, leaves spaced more than 1 inch apart, or seedlings leaning toward the light. Rotate trays quarter-turn daily to ensure even growth. Strong seedlings develop thick stems and dark green leaves within 3-4 weeks.
🪴 Step 3: Harden Off Seedlings Before Transplanting
Begin hardening off 10-14 days before your last frost date by placing seedlings outside in partial shade for 1-2 hours the first day. Gradually increase exposure by 1 hour daily, moving to full sun by day 7. This prepares plants for outdoor conditions without shock.
During this period, watch for wilting or leaf scorch—signs of too much sun too soon. Bring seedlings indoors at night until temperatures consistently stay above 50°F. Transplant only when nighttime temps reliably stay above 55°F.
🌿 Step 4: Plant Outdoors with Proper Spacing and Support
Choose a location with full sun (6+ hours daily) and well-draining soil. Dig holes twice as wide as the root ball but no deeper. Space plants 18-24 inches apart in rows 3-4 feet apart to allow airflow and prevent disease.
Install cages or stakes at planting time to support vines as they grow. Water deeply at planting to settle soil around roots, then maintain 1 inch of water weekly. Mulch with 2-3 inches of organic mulch to retain moisture and suppress weeds.
✂️ Step 5: Maintain Plants Through the Growing Season
Prune suckers (shoots in leaf axils) regularly to direct energy to fruit production. Remove lower leaves that touch soil to prevent disease. Fertilize with balanced organic fertilizer every 4-6 weeks after planting, following package rates.
Monitor for common pests like hornworms and aphids. Handpick large pests and spray with neem oil for smaller infestations. Harvest tomatoes when they reach full color and slightly soften to the touch. Regular harvesting encourages more production throughout the season.
Tips & tricks for perfect tomato seedlings
Here's what I've learned after years of growing tomatoes from seed—these tricks make all the difference between healthy plants and leggy failures.
Seed Starting Strategy: Use a heating mat set to 75-85°F for consistent germination. I've found that placing trays on top of refrigerators (which stay warm) works in a pinch if you don't have a dedicated heat mat. The key is maintaining that warm soil temperature—cold soil is the #1 reason seeds fail to sprout.
Lighting Secret: For the critical 14-16 hours of light daily, I recommend supplementing with full-spectrum LED grow lights if your natural light isn't sufficient. Position them just 2-4 inches above seedlings—the closer they are, the more intense the light, but don't let them touch the leaves. I've seen seedlings grow from 1 inch tall to 4 inches in just 10 days with proper lighting!
Harden Off Gradually: When you begin the 10-14 day hardening process, I suggest starting with just 1 hour in partial shade on day one, then increasing by 1 hour each day. Watch for leaf scorch—if you see this, you're moving too quickly. Remember, nighttime temperatures must stay above 55°F for successful transplanting, so check your local frost dates carefully.
Outdoor Planting Prep: Before transplanting, give your seedlings a final drink of water about 2 hours before moving them outside. This helps prevent transplant shock. When planting, I always add a handful of compost to each planting hole—this gives roots a nutrient boost right when they need it most.
Pro Tips for Grow Tomatoes From Seed Outdoors
- Here's what I've learned after years of growing tomatoes from seed—these tricks make all the difference between healthy plants and leggy failures.
- Seed Starting Strategy: Use a heating mat set to 75-85°F for consistent germination.
- Lighting Secret: For the critical 14-16 hours of light daily, I recommend supplementing with full-spectrum LED grow lights if your natural light isn't sufficient.
Frequently asked questions
Got questions about growing tomatoes from seed?
You’re not alone—here are the most common ones, answered for your peace of mind!
How long does it take for tomato seeds to germinate outdoors?
Most tomato seeds sprout in 5–14 days after planting, depending on soil warmth and moisture. If you’re sowing directly outdoors, wait until the soil is at least 60°F (15°C)—cold soil slows germination. Keep the soil consistently damp (not soggy) to speed things up!
Can I plant tomato seeds too early in the spring?
Yes, but only if you’re prepared to protect them. Early sowings (4–6 weeks before last frost) risk frost damage. Use row covers, cold frames, or a greenhouse to shield seedlings. If frost hits, cover plants with blankets or plastic. Patience pays off—hardy varieties like ‘Stupice’ tolerate cooler temps better.
What do I do if my tomato seedlings look leggy or weak?
Leggy seedlings mean they’re stretching for light. To fix it:
- Move them to a sunny windowsill or grow light (12–16 hours/day).
- Thin crowded seedlings to 2–3 inches apart for better airflow.
- Plant deeper when transplanting—bury stems up to the first leaves to encourage root growth.
How do I prevent pests like aphids or hornworms from destroying my tomato plants?
Start with prevention:
- Inspect plants daily for eggs or pests (especially under leaves).
- Spray with neem oil or insecticidal soap at the first sign of trouble.
- Attract beneficial predators like ladybugs or lacewings with companion plants (basil, marigolds).
- Handpick hornworms—they’re fast eaters!
What’s the best temperature range for growing tomatoes outdoors?
Tomatoes thrive in warmth but hate extremes:
- Daytime ideal: 70–85°F (21–29°C).
- Nighttime ideal: 60–70°F (15–21°C).
- Avoid: Below 50°F (10°C)—growth stops; above 90°F (32°C)—fruit may crack or taste bland.
Wrapping up and next steps
Growing tomatoes from seed outdoors is a rewarding journey that connects you to nature while yielding delicious, homegrown fruit.
With the right patience, preparation, and care, you’ll transform tiny seeds into thriving vines bursting with flavor. Your next step? Start small—plant a few seeds this season, experiment with varieties, and watch your confidence (and harvest!) grow.
🌱 Pro tip: Share your progress with fellow gardeners or snap photos of your plants’ milestones. Happy growing—your kitchen (and taste buds) will thank you!