
Lawn
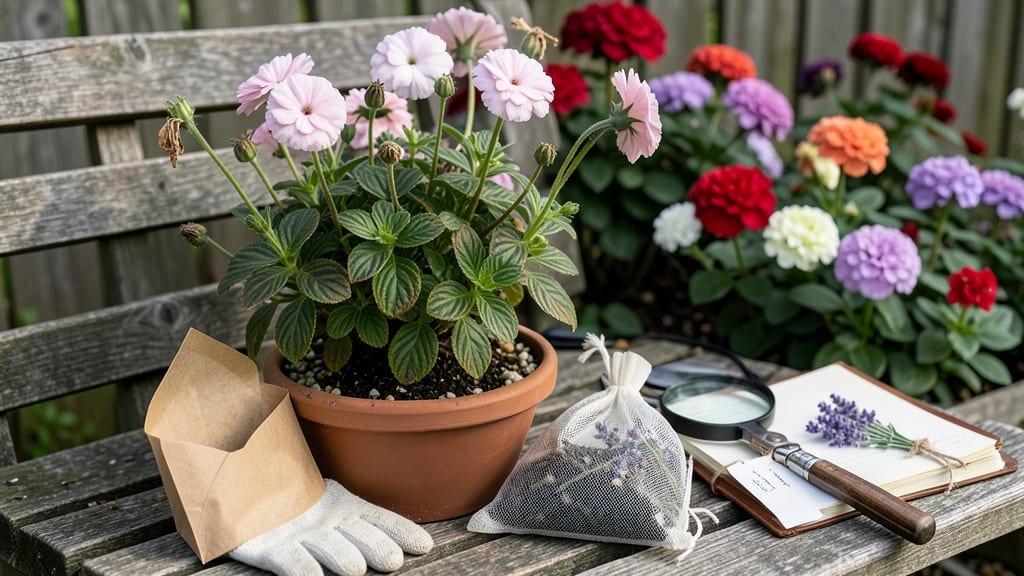
Geranium seed collection from your fragrant blooms means next year’s garden starts now. 🌿 The key is timing—wait until seed pods turn from green to brown, then harvest before they pop open and scatter. I’ve saved seeds from my scented geraniums for three seasons, and the trick is patience combined with a little technique.
You’ll need just three things: a pair of clean scissors, a paper bag for drying, and a cool, dark spot for storage. Harvest pods when they’re dry but still intact, then let them finish drying indoors for a week.
Most varieties stay viable for 2-3 years if stored properly—though I’ve had best luck with fresh seeds for germination.
By spring, you’ll watch tiny seedlings push through the soil, their first leaves unfurling into the classic geranium shape. The scent alone—whether lemon, rose, or peppermint—makes the effort worth it. Just be patient; some varieties take 2-3 weeks to germinate, and consistent moisture is key.
Common challenges include moldy seeds or slow germination, often from over-moisture. If you’re new to seed saving, start with hardy varieties like ‘Rosie’ or ‘Annual Scented Geranium’—they’re forgiving and reliable. The payoff? A garden filled with fragrant blooms you grew from seeds you collected yourself.
📚 In This Guide
- What you need
- Instructions
- Tips and common mistakes
- Wrapping up and next steps
What you need
- ● Mature geranium plants (ensure seeds are fully ripe—dry, brown, and slightly shriveled).
- ● Small paper bags or envelopes (1-2 per plant, breathable to prevent moisture buildup).
- ● Sharp scissors or pruning shears (for clean seed pod removal).
- ● Labeling tags or masking tape + marker (to note plant varieties and harvest dates).
- ● Drying tray or screen (elevated, well-ventilated surface for seed pods to dry).
- ● Air-tight seed storage containers (small jars, resealable bags, or vacuum-sealed bags with silica gel packets).
- ● Fine-mesh sieve or colander (to separate seeds from chaff after drying).
- ● Rubbing alcohol (70% isopropyl) + cotton swabs (for sterilizing tools between plants to avoid cross-contamination).
- ● Desiccant packs (to absorb excess moisture in storage containers).
- ● Digital scale (for tracking seed weight—fun for data-driven gardeners!).
- ● UV-protective storage box (if storing seeds long-term in bright windows).
- ● Seed catalog or notebook (to log germination rates and notes per variety).
Step-by-Step guide to collecting and storing geranium seeds
Here's how to preserve those fragrant blooms for next year—no fancy tools needed.
🌿 Step 1: Select the Best Seed Pods
Wait until geranium seed pods appear—these look like tiny, round, green bulbs where spent flowers once bloomed. Let them mature fully on the plant until they turn a dry, papery brown color. This usually takes 4-6 weeks after flowering. You'll know they're ready when a gentle squeeze releases seeds easily.
Harvest pods on a dry, sunny day to prevent moisture buildup. Use clean, sharp scissors to snip the stems 1 inch below the pod. Avoid pods that show signs of mold, pests, or damage—they won’t produce viable seeds. I like to collect pods in small paper bags (not plastic) to allow airflow.
🌱 Step 2: Dry the Seed Pods Thoroughly
Spread the harvested pods in a single layer on a clean, dry surface—like a mesh screen or paper towel—in a warm, dry spot with good airflow. Keep them out of direct sunlight to prevent overheating, which can damage the seeds inside. A temperature between 65-75°F works best. This drying process takes 1-2 weeks.
Check daily for moisture—if any pods feel damp, extend drying time. Once completely dry, the pods will crumble easily between your fingers. Store them in a cool, dark place (like a sealed envelope) until ready for seed extraction. Real talk: Rushing this step leads to moldy seeds that won’t sprout.
✂️ Step 3: Extract and Clean the Seeds
Once pods are bone-dry, gently crush them between your fingers or use a small hammer to break them open. Seeds will spill out—these are tiny, flat, and brown with a slightly rough texture. Sift through the debris using a fine mesh strainer or sieve to separate seeds from chaff. Discard any blackened or shriveled seeds—they won’t germinate.
For extra cleanliness, spread seeds on a fresh paper towel and let them air-dry for another 24 hours. This final step ensures moisture doesn’t trigger premature germination during storage. I store seeds in small glass jars with tight lids, labeling each with the geranium variety and harvest date.
🪴 Step 4: Store Seeds Properly for Viability
Place seeds in an airtight container—glass jars or plastic bags with silica gel packets work well. Store them in a cool, dark pantry or refrigerator (not freezer) where temperatures stay 35-45°F. Geranium seeds remain viable for 2-3 years under these conditions, though germination rates drop after year one.
Check stored seeds annually for signs of moisture or pests. If you notice condensation or musty smells, redistribute them into a fresh container. Properly stored seeds will retain their shape and color—any discoloration means it’s time to discard them. Here’s the thing: A little effort now saves you from buying new plants every season.
Tips & tricks for perfect geranium seed preservation
Here’s what nobody tells you about saving those delicate seeds for next year’s garden blooms.
Selection Tip: In Step 1, when harvesting pods, focus on the ones that feel light and papery—these are the ripest. I’ve learned the hard way that heavy or green pods won’t yield viable seeds. Also, harvest on a dry day to prevent moisture from sticking to the pods, which can lead to mold during drying. A gentle squeeze should release seeds easily—if it doesn’t, wait a few more days.
Drying Strategy: The 1-2 week drying time in Step 2 is non-negotiable. I once rushed this process and ended up with seeds that sprouted prematurely in storage. Keep pods in a spot with gentle airflow—like a mesh screen over a table—and avoid direct sunlight to prevent overheating. If your kitchen is humid, consider using a small fan on low to speed up evaporation without damaging the seeds.
Storage Wisdom: For the 24-hour final drying in Step 3, I recommend using a clean paper towel rather than a cloth, as cloth can trap moisture. Once seeds are stored in airtight containers at 35-45°F, label them with the date and geranium variety. This helps track viability—seeds older than 2 years may not germinate as well. I also add a tiny silica gel packet to my glass jars to absorb any lingering moisture.
Pro Tips for Geranium Seed Collection
- Here’s what nobody tells you about saving those delicate seeds for next year’s garden blooms.
- Selection Tip: In Step 1, when harvesting pods, focus on the ones that feel light and papery—these are the ripest.
- Drying Strategy: The 1-2 week drying time in Step 2 is non-negotiable.
Frequently asked questions
Got questions about collecting and storing geranium seeds?
You’re not alone! Here are answers to the most common queries to help you preserve those fragrant blooms for next season.
When is the best time to collect geranium seeds?
Collect seeds when the flower heads turn brown and dry out—usually late summer to early fall. Avoid harvesting too early, as immature seeds won’t germinate well. Look for seed pods that split open naturally; these are ready for collection!
How long do geranium seeds stay viable for storage?
Under proper conditions (cool, dry, and dark), geranium seeds can stay viable for 2–3 years. Store them in airtight containers with silica gel or a moisture absorber to prevent mold. Check for freshness by testing a few seeds annually.
What if my geraniums aren’t producing seeds?
If your plants skip seed production, they might be sterile hybrids or lack pollinators. Try hand-pollinating with a soft brush, or opt for heirloom varieties known for seed production. Deadheading spent blooms can also encourage more flowers (and potential seeds!).
Can I store geranium seeds in the freezer?
Yes! Freezing seeds (in sealed bags with a moisture absorber) is a great long-term method. Label them with the date and variety, then thaw at room temp before planting. This method can extend viability beyond 3 years for some varieties.
What’s the easiest way to dry geranium seeds at home?
Lay seed pods in a single layer on paper towels in a cool, dry place (like a mesh bag or envelope) for 1–2 weeks. Avoid heat or humidity—this prevents mold. Once fully dry, gently crush pods to release seeds, then store in labeled envelopes.
Wrapping up and next steps
Collecting and storing geranium seeds is a rewarding way to ensure next year’s garden stays as vibrant and fragrant as ever!
With the right tools and techniques—like proper drying, labeling, and airtight storage—you’ll be ready to grow lush blooms season after season. Now’s the perfect time to put your newfound skills to work! Grab those dried seed pods, follow your storage plan, and get ready to watch your garden thrive with homegrown geraniums. 🌱✨
- Next Step: Mark your calendar for spring planting and start prepping your garden beds early!