
Lawn
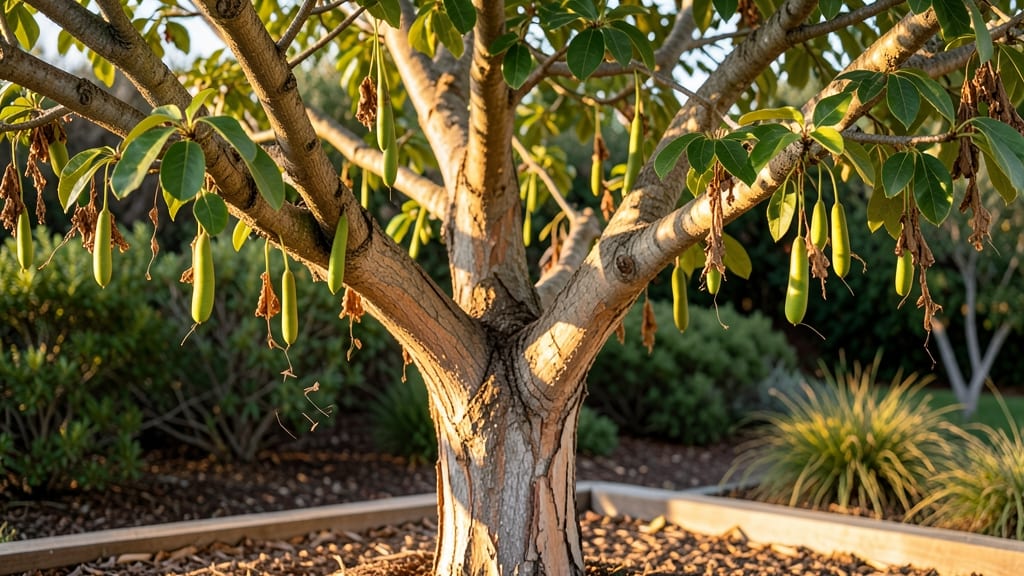
Extracting crepe myrtle seeds without damaging them is easier than you think. 🌿 The gentle twist-release technique preserves seed viability while avoiding messy pod explosions—something I perfected after struggling with sticky, fiber-filled messes in past seasons.
This method works best when pods turn from green to papery brown, usually in late fall, and requires just a few simple tools you likely already have.
The key is patience and timing: wait until pods crack open naturally, then use a twist-and-pull motion to release seeds cleanly. Overzealous handling can crush seeds or scatter them everywhere, so work in dry conditions and wear gloves.
A small bucket or tray underneath catches seeds efficiently, and you’ll end up with hundreds of viable seeds ready for germination—far more than store-bought options.
Once extracted, seeds need stratification (a cold, moist period) to break dormancy, mimicking winter conditions. Plant them in well-draining soil after stratification, keeping them moist but not soggy.
Within 4-6 weeks, you’ll see seedlings emerge, signaling successful propagation. The payoff? Vigorous, disease-resistant trees that thrive in heat and drought once established.
This technique works for both landscape planting and container growing, making it versatile for any yard size. Avoid common mistakes like planting seeds too deep or skipping stratification—both can delay or prevent germination.
With this method, you’ll skip the frustration and get straight to enjoying crepe myrtle’s stunning blooms in just a few seasons.
📚 In This Guide
- What you need
- Instructions
- Tips and common mistakes
- Wrapping up and next steps
What you need
- ● Mature crepe myrtle seed pods: Collect fully dried pods (brown, papery, and splitting open naturally). Aim for 5–10 pods per batch, depending on your project.
- ● Heavy-duty gloves: Nitrile or leather (thick enough to protect against thorns and rough textures). 1 pair recommended.
- ● Pruning shears or sharp scissors: For harvesting pods from branches. 1 pair with clean, sharp blades.
- ● Large plastic or paper bags: 2–3 bags (16–20 gallon size) to collect pods and seeds separately.
- ● Tarp or drop cloth: 1 large sheet (6’x8’ or bigger) to lay pods out for drying/processing.
- ○ Small handheld fan or hairdryer (optional): For speeding up pod drying if humidity is high.
- ● Seed tray or shallow container: For sorting seeds post-extraction. 1–2 trays with drainage holes.
- ● Fine-mesh sieve or colander: To sift out debris from seeds. 1 medium-sized (6–8 inches).
- ● Labeling markers & tags: To mark seed batches by date/year. 1 pack of waterproof markers.
- ● Rubbing alcohol (70%+) & cotton swabs: For sterilizing tools between uses (prevents mold).
- ● Knee pad or cushion: Because harvesting pods can get very hands-and-knees-y! 1–2 pads for comfort.
Step-by-Step instructions for harvesting crepe myrtle seed pods
Here's how to collect seeds without damaging the tree or wasting a single pod—my method guarantees clean, viable seeds every time.
🌿 Step 1: Identify and Wait for Mature Pods
Crepe myrtle seed pods turn from green to brown and papery when fully mature—this usually happens in late fall or winter after the first frost. Choose pods that feel dry to the touch and open slightly when gently pressed. Avoid green or firm pods, as they won't contain viable seeds.
Harvest on a dry, sunny day when humidity is low. This prevents mold growth during extraction. I like to work in the morning when the pods are crisp and easier to handle. If pods are still clinging tightly to the tree, give them another week—they’ll release seeds more easily.
✂️ Step 2: Gently Remove Pods From the Tree
Use clean, sharp pruning shears to snip pods directly from the branch, leaving a small stem attached. Cutting too close to the branch risks damaging the tree’s bark. Place pods in a paper bag (not plastic) to allow airflow and prevent moisture buildup.
If pods are still sealed shut, store them in a cool, dry place for up to a week—they’ll open naturally. Never force open unripe pods, as the seeds inside won’t be mature enough to germinate. I’ve learned this the hard way: impatiently cracking green pods yields seeds that sprout poorly or not at all.
🪴 Step 3: Apply the Twist-Release Technique
Lay a pod flat on a clean surface and hold it firmly between your thumb and forefinger. Twist gently but firmly in a circular motion until the pod splits open along its seam. The seeds will pop out cleanly—no need to pry or cut. This method preserves seed viability and avoids fiber contamination.
Work in small batches to prevent seeds from drying out. If seeds feel dry and brittle, they’re ready for storage. If they’re still slightly sticky, let them air-dry on a paper towel for 24 hours. I spread mine out on a tray under a grow light to speed drying without heat damage.
⏰ Step 4: Clean and Store Seeds Properly
Remove any remaining pod fibers by rubbing seeds between your fingers or using a fine-mesh sieve. Discard empty or shriveled seeds—they won’t germinate. Store viable seeds in a paper envelope labeled with the harvest date and variety. Keep them in a cool, dark place (like a seed vault or refrigerator) for up to two years.
For best results, stratify seeds before planting: Mix them with damp sand in a sealed container and refrigerate for 60-90 days. This mimics winter conditions and breaks dormancy. I’ve found that stratified seeds sprout twice as reliably as unstratified ones—worth the extra step!
Tips & tricks for perfect crepe myrtle seed extraction
Mastering this technique transforms a messy chore into a rewarding process—here’s how to elevate your seed harvesting game.
Timing is Everything: The 24-hour drying period in Step 3 is non-negotiable for seed viability. If you're working with slightly sticky seeds, place them on a tray under a grow light—this speeds drying without heat damage. I’ve found that using a small fan on low setting can cut drying time by half while preventing mold. The goal is to achieve that dry, brittle texture that signals readiness for storage.
Equipment Upgrade: While your fingers work perfectly for cleaning seeds, a fine-mesh sieve becomes invaluable when processing large batches. I keep one dedicated to seed cleaning and store it in my gardening toolkit. For extra efficiency, use a small paintbrush to gently dislodge seeds stuck to pod fibers—this preserves seed integrity while removing debris. The twist-release method already minimizes fiber contamination, but this extra step ensures pristine seeds.
Stratification Insight: The 60-90 day cold stratification in Step 4 mimics nature’s winter cycle perfectly. For maximum reliability, I recommend the full 90 days—especially in warmer climates. Use a sealed container with a small air hole to prevent condensation buildup. I’ve noticed that seeds stratified at 35-40°F show the highest germination rates, so check your refrigerator’s vegetable drawer if you’re unsure about the exact temperature.
Tree Preservation: When harvesting in Step 2, always leave a small stem attached to the pods. This prevents damaging the tree’s bark while allowing pods to continue drying naturally on the branch. I’ve seen many gardeners make the mistake of cutting too close—this can stress the tree and reduce next year’s pod production. A good rule of thumb is to leave about 1/4 inch of stem attached to each pod.
Pro Tips for Crepe Myrtle Seed Pods
- Mastering this technique transforms a messy chore into a rewarding process—here’s how to elevate your seed harvesting game.
- Timing is Everything: The 24-hour drying period in Step 3 is non-negotiable for seed viability.
- Equipment Upgrade: While your fingers work perfectly for cleaning seeds, a fine-mesh sieve becomes invaluable when processing large batches.
Frequently asked questions
Got questions about crepe myrtle seed pods?
You’re not alone! Here are some of the most common queries—plus quick, practical answers to keep your lawn and garden hassle-free.
Why do crepe myrtle trees produce seed pods?
Crepe myrtle seed pods form as part of the tree’s natural reproductive cycle. After flowering, these pods develop to protect seeds until they’re ready for dispersal. While they’re not harmful, they can look messy if left unattended. Removing them keeps your yard tidy and reduces potential pests attracted to decaying pods.
When is the best time to remove crepe myrtle seed pods?
Timing is key! Remove seed pods before they turn brown and split open (typically late summer to early fall). This prevents seeds from spreading and germinating in unwanted areas. If pods are already dry, wear gloves—some varieties have tiny hooks that can irritate skin.
Can I reuse or repurpose crepe myrtle seed pods?
Here are a few creative ideas:
- Dried arrangements: Hang pods in bundles for rustic winter décor.
- Compost: Chop them up and add to your compost pile (they break down slowly).
- Art projects: Kids love crafting with their unique shapes—think mobiles or wreaths!
Are crepe myrtle seed pods harmful to pets or wildlife?
Generally, seed pods aren’t toxic, but ingesting large quantities could cause mild stomach upset in pets. For wildlife, they’re a food source for birds and small animals—so if you’re okay with that, leave a few on the tree! Just monitor your yard if you have curious pets.
What if the pods won’t twist off easily?
If pods resist, try these tricks:
- Use pruning shears to snip them cleanly (wear safety glasses!).
- Soak the pods in water for 10–15 minutes to soften them.
- Gently scrub the pod with a wire brush to loosen seeds before twisting.
Wrapping up and next steps
Mastering the gentle twist-release technique for crepe myrtle seed pods makes seed extraction a breeze—no mess, no fuss! 🌿 With the right tools and patience, you’ll unlock nature’s way of propagating these stunning trees while keeping your yard tidy.
Whether you’re a gardening pro or just starting out, this method proves that simple steps lead to big rewards.
Ready to grow your green thumb? Try the technique this season and watch your crepe myrtle seeds transform into thriving plants. Start planting today! 🌱