
Lawn
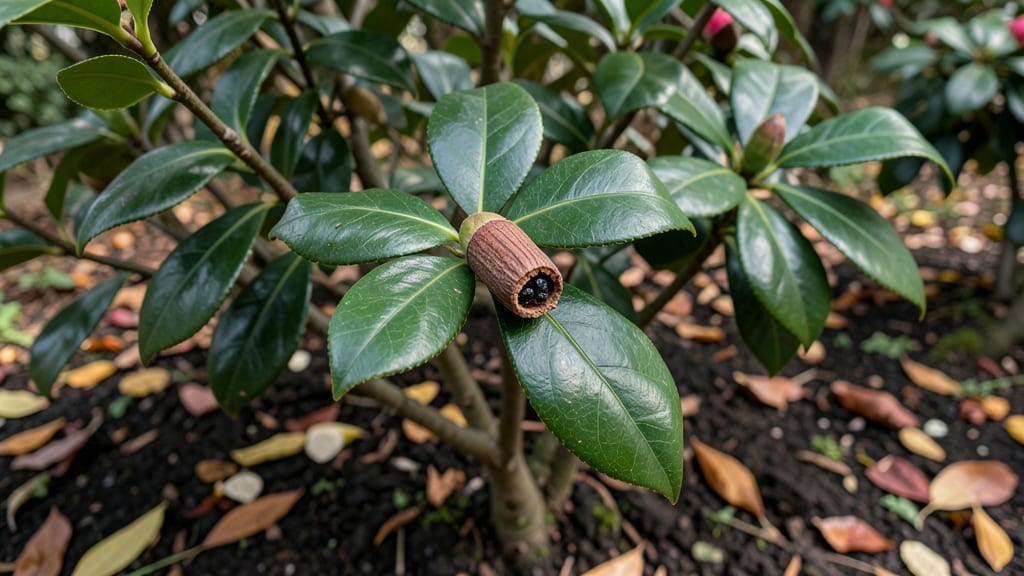
Camellia seed pods hold the secret to growing your own stunning camellia shrubs—no cold treatment needed. 🌱 I’ve struggled with finicky seeds before, but these pods make propagation surprisingly straightforward once you know the tricks.
The key is timing: harvest them at the right moment when they’re plump but not yet splitting open, and you’ll unlock a world of lush, fragrant blooms in just a few years.
You’ll need just a few simple supplies: sharp pruners for harvesting, a clean workspace, and some well-draining potting mix. The process itself takes about 30 minutes from start to finish, and the best part?
These seeds germinate reliably without the fuss of cold stratification that other plants demand. Once you crack open those pods, you’re one step closer to a camellia that could outlive you—literally.
What you’ll end up with are delicate seedlings that, with patience, will grow into those glossy-leaved, blooming beauties you’ve always admired. The first true leaves appear in 4-6 weeks, and by next spring, you could be pinching back your own young camellia to encourage bushier growth.
The satisfaction of watching something so elegant grow from a tiny seed is unmatched.
This method works equally well for gardeners in zones 7-9, where camellias thrive. Whether you’re starting a collection or just want to share cuttings with friends, these seeds are your ticket to stress-free propagation. Let’s get those pods open and growing!
📚 In This Guide
- What you need
- Instructions
- Tips and common mistakes
- Wrapping up and next steps
What you need
- ● Fresh camellia seed pods: Harvest from a healthy, mature camellia plant (preferably Camellia japonica or Camellia sasanqua). Aim for 3–5 pods for a small batch.
- ● Sharp pruning shears or knife: For carefully opening pods without damaging seeds.
- ● Small container or bowl: To collect seeds (e.g., a glass or ceramic dish for easy cleaning).
- ● Paper towels or coffee filters: For drying seeds (use 2–3 sheets per batch).
- ● Spray bottle with water: To mist seeds gently (avoid soaking).
- ● Seed-starting mix: A well-draining, sterile potting mix (e.g., 50% peat moss + 50% perlite). Avoid garden soil.
- ● Small pots or seed trays: 2–3 inch diameter with drainage holes (or repurpose yogurt cups with holes punched in the bottom).
- ○ Plastic wrap or humidity dome: To create a mini greenhouse effect (optional but highly recommended).
- ● Grow lights or sunny windowsill: A spot with bright, indirect light (6+ hours/day).
- ● Label markers & tags: To track seed varieties (e.g., Camellia ‘Yuletide’).
- ● Fine-mist sprayer: For precise watering (avoids crushing seeds).
- ○ Heating mat (optional): Keeps soil 70–75°F to speed up germination (great for cooler climates).
- ● Fungicide (e.g., hydrogen peroxide 3%): Dilute 1:9 with water to prevent mold on damp seeds.
- ● Tweezers: For handling tiny seeds without squishing them.
- ● Journal or app: To log germination progress (e.g., Gardenate or a simple notebook).
Step-by-step instructions for germinating camellia seed pods
Here's how to coax those stubborn camellia seeds to sprout without the usual cold treatment hassle.
🌱 Step 1: Harvest and Prepare the Seed Pods
Collect mature camellia seed pods when they turn brown and begin splitting open naturally. The seeds inside should be plump and firm—shriveled seeds won't germinate. Remove the seeds and soak them in warm water for 24 hours to soften the tough outer shell. This step mimics natural weathering and speeds up germination.
After soaking, gently rub the seeds between your fingers to remove any remaining pulp. Don't scrub aggressively—you're just loosening the outer coating. Place them on a paper towel to dry for 1 hour at room temperature. This prevents mold while keeping the seeds hydrated for planting.
💧 Step 2: Plant Seeds in Moist, Well-Draining Medium
Fill small pots with a mix of 50% peat moss and 50% perlite—this ensures excellent drainage while retaining enough moisture. Camellias hate soggy roots, so avoid regular potting soil. Press the moistened mix down lightly to create a firm planting surface.
Plant seeds ½ inch deep, spacing them 1 inch apart in each pot. Cover them with a thin layer of the same mix, then mist gently with water until the surface looks damp but not wet. Place the pots in a warm, shaded area where temperatures stay between 70-75°F—this mimics their natural tropical environment.
☀️ Step 3: Maintain Consistent Moisture and Light
Keep the soil evenly moist by watering whenever the top ½ inch feels dry. Use a spray bottle for the first 4 weeks to avoid disturbing the delicate seedlings. Once sprouts appear, switch to bottom-watering by placing pots in a tray of water for 10 minutes—this encourages strong root development.
After 2-3 weeks, when seedlings show their first true leaves (not the initial seed leaves), move them to bright, indirect light. Direct sunlight at this stage will scorch tender leaves. You'll know they're getting enough light when new leaves emerge with a rich green color and no yellowing.
⏰ Step 4: Transplant and Gradually Acclimate Seedlings
When seedlings reach 3-4 inches tall and have developed 4-5 true leaves, transplant them into individual 4-inch pots with the same peat-perlite mix. Handle them gently—camellia roots are fragile. Water thoroughly after transplanting to help settle the soil around the roots.
Begin hardening off seedlings by placing them outdoors in a shaded spot for 1-2 hours daily, gradually increasing exposure over 2 weeks. Watch for signs of stress like wilting or yellowing leaves—this means they're not ready for full sun yet. Once they tolerate 6 hours of morning sun without stress, they're ready for permanent outdoor planting.
Tips & tricks for perfect camellia seed germination
Here's what I've learned after years of experimenting with these finicky seeds—tricks that'll help you skip the cold treatment and still get strong, healthy sprouts.
Soaking Strategy: The 24-hour soak is non-negotiable, but here's the secret: use lukewarm water (not boiling) to avoid shocking the seeds. I add a drop of mild dish soap to help break down the tough outer shell without damaging the embryo inside. After soaking, I like to rinse the seeds briefly under cool water to remove any soap residue before drying.
Medium Mix Matters: That 50/50 peat moss and perlite blend is perfect, but here's a pro move: sterilize your mix first by microwaving it in a bowl with a splash of water for 2 minutes. This kills any potential mold spores that could compete with your seeds. Also, press the mix firmly around each seed—this creates better seed-to-soil contact for faster germination.
Moisture Management: During those first 4 weeks, I've found that bottom-watering (placing pots in a tray of water for 10 minutes) works better than misting. The seeds stay consistently moist without the risk of fungal growth from overhead watering. After sprouts appear, I switch to a spray bottle only when the top ½ inch feels dry—overwatering is the #1 killer of camellia seedlings.
Light Transition: When you move seedlings to bright indirect light after 2-3 weeks, here's how to test if they're ready: Hold a sheet of white paper near the plant. If you can barely read the print through the leaves, they're getting enough light. Too much direct sun will turn leaves yellowish—this is your warning sign to move them back to shade immediately.
Pro Tips for Camellia Seed Pod
- Here's what I've learned after years of experimenting with these finicky seeds—tricks that'll help you skip the cold treatment and still get strong, healthy sprouts.
- Soaking Strategy: The 24-hour soak is non-negotiable, but here's the secret: use lukewarm water (not boiling) to avoid shocking the seeds.
- Medium Mix Matters: That 50/50 peat moss and perlite blend is perfect, but here's a pro move: sterilize your mix first by microwaving it in a bowl with a splash of water for 2 minutes.
Frequently asked questions
Got questions about growing camellia seed pods? You’re not alone! Here are some of the most common queries—and their answers—to help you navigate germination like a pro.
Do camellia seed pods need stratification to germinate?
Not necessarily! Unlike many seeds, Camellia seed pods can germinate without stratification if you follow the right steps—like soaking them first and keeping them warm. This guide covers stress-free methods to skip the cold treatment entirely. Just be patient; germination can take 4–12 weeks!
How long does it take for camellia seeds to sprout?
Patience is key! Under ideal conditions (warmth, moisture, and proper light), sprouts may appear in 4–8 weeks. Some seeds take up to 12 weeks, especially if they’re fresh or stored improperly. Don’t give up early—consistent moisture and warmth speed up the process. Pro tip: Use a seedling heat mat to maintain steady temps!
What’s the best alternative if my seed pod won’t sprout?
If your seeds refuse to germinate, try these backups:
- Buy pre-germinated seedlings from a nursery (ask for Camellia japonica or Camellia sasanqua varieties).
- Layer fresh pods in damp sphagnum moss and refrigerate for 30–60 days (mimics natural stratification).
- Test viability: Cut open a seed—if it’s firm and green inside, it’s still good!
Why are my camellia seeds rotting instead of sprouting?
Overwatering or poor drainage is usually the culprit. Camellia seeds hate soggy conditions—they need moisture, not mud. Here’s how to fix it:
- Use a well-draining mix (50% perlite/sand + 50% peat/potting soil).
- Water only when the top inch is dry—never let them sit in water.
- Ensure pots have drainage holes to prevent root rot.
Can I grow camellia seed pods indoors year-round?
Indoor growth is totally doable with the right setup:
Factor
Indoor Requirements
Light
Bright, indirect light (south-facing window or grow lights for 12+ hours/day).
Temperature
70–75°F (21–24°C)—use a heat mat if your home runs cooler.
Humidity
50–70%—mist seedlings or use a humidity dome.
Transplant outdoors after the last frost when seedlings are 3–4 inches tall.
Wrapping up and next steps
Growing camellia seed pods without the stress of stratification is totally doable—you just need patience and the right techniques! Whether you’re a seasoned gardener or a curious beginner, these stress-free methods open the door to nurturing these stunning plants.
Now that you’re armed with the best materials and answers to common questions, why not take the next step? Grab those seed pods, set up your mini greenhouse or warm spot, and watch your camellia journey bloom—literally! 🌱✨
Pro Tip: Start small, document your progress, and share your wins with fellow plant lovers. Happy growing!