
Lawn
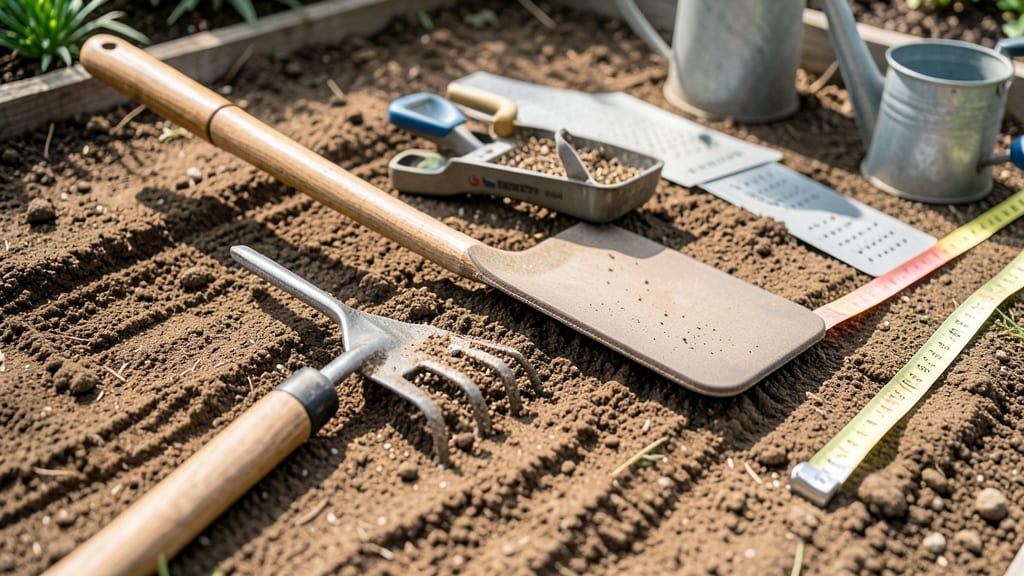
The best way to put grass seed down starts with a foolproof technique that ensures every seed makes contact with soil—not just the surface. ✨ I’ve seen lawns fail because seeds were scattered too thickly in some spots and too thinly in others, leading to patchy growth.
The secret? Preparation, the right tools, and a methodical approach that treats your lawn like a canvas, not a quick sprinkle of seeds.
First, you’ll need a smooth, weed-free base—no clumps of dirt or leftover grass clippings. Rake the soil until it’s fine and even, then use a broadcast spreader for even coverage (or a hand spreader if you’re working in small sections).
For cool-season grasses like fescue or rye, aim for 5-10 pounds per 1,000 square feet, while warm-season grasses like Bermuda or Zoysia need 10-20 pounds.
Lightly rake the seeds into the soil to ensure they’re snug against the earth—this keeps them from washing away and gives them the best chance to germinate.
Watering is where most people mess up: daily light watering (about ¼ inch) for the first two weeks is critical. You want the soil to stay consistently moist, not soggy.
After germination, you can ease up to ½ inch per week, but avoid deep soaking, which can dislodge seeds. By week 3, your lawn will start looking like a lush, uniform carpet—no bare patches if you’ve done it right.
The key is patience; grass seeds need time to establish roots before they can handle foot traffic or drought.
This method works for new lawns, overseeding, or repairing thin spots, and it’s adaptable to any grass type. The only rule? Don’t rush it. A well-prepped seedbed and consistent care turn a patchy lawn into a thriving, envy-worthy green space—no shortcuts needed.
📚 In This Guide
- What you need
- Instructions
- Tips and common mistakes
- Wrapping up and next steps
What you need
- ● High-quality grass seed: Choose a blend suited to your climate and lawn type (e.g., Kentucky Bluegrass, Fescue, or Bermuda). Aim for 5–10 lbs per 1,000 sq ft, depending on seed size and desired density.
- ● Lawn fertilizer: A starter fertilizer with a high phosphorus (P) content (e.g., 5-10-10 or 10-20-10) to promote root growth. Use ½ lb per 100 sq ft.
- ● Topsoil or compost: A thin layer (¼ inch) to improve seed-to-soil contact. Opt for organic matter-rich topsoil.
- ● Straw or mulch: ¼–½ inch thick to retain moisture and protect seeds from birds/wind. Avoid dyed mulch—it can harm seedlings.
- ● Broadcast spreader: A handheld or tow-behind model for even seed distribution. Calibrate it to match your seed quantity.
- ● Rake (bow or stiff-bristle): For leveling soil and removing debris. A 12–18-inch width works best for most lawns.
- ● Garden hose with adjustable nozzle: For pre-watering, post-seeding, and daily hydration. A gentle mist setting is ideal.
- ○ Lawn roller (optional but helpful): A lightweight 50–100 lb roller to press seed into soil without compacting it too much.
- ● Knee pads or gloves: Because crawling and raking get messy!
- ● ✅ Clear the area: Remove weeds, rocks, and debris. Use a pre-emergent herbicide 2–4 weeks before seeding if needed.
- ● ✅ Test soil pH: Aim for a pH of 6.0–7.0. Adjust with lime (to raise) or sulfur (to lower) if necessary.
- ● ✅ Check weather: Seed in spring or early fall when temps are 60–75°F and rain is forecasted for 1–2 weeks.
- ● ✅ Mow existing grass short: If overseeding, trim grass to 1–1.5 inches for better seed contact.
Step-by-step instructions for perfect grass seed germination
Here's the foolproof method I've used to establish lush lawns—no clumps, no bare spots, just even coverage that guarantees strong germination.
🌱 Step 1: Prepare the Soil Surface for Optimal Seed Contact
Rake the bare soil until it's completely smooth and free of debris. You want a fine, crumbly texture that looks like sifted sand—this ensures every seed makes direct contact with soil, not rocks or thatch. I use a stiff-bristled rake to create a slightly rough surface; this gives seeds tiny grooves to nestle into while preventing them from washing away during watering.
Pay special attention to low spots where water pools. Fill these with a thin layer of topsoil and firm it down gently with your foot or a rolling lawn tool. Uneven areas will create thick seed patches in high spots and thin coverage where water collects. Run your hand over the surface—it should feel uniformly firm without any depressions deeper than ¼ inch.
💧 Step 2: Spread Seed Using the Right Technique for Even Distribution
Divide your seed into four equal portions—this makes spreading easier and more accurate. Start at one corner of the area and walk diagonally across while gently shaking seed from the packet. Hold the packet at a 45-degree angle and keep it moving to avoid creating piles. For large areas, use a broadcast spreader set to the recommended setting for your seed type.
After completing the first pass, rotate 90 degrees and repeat with the second portion. This crosshatching pattern eliminates thick clumps and thin spots. Walk slowly—about 3 feet per second—to maintain consistent coverage. For small patches, use your hand to scatter seed evenly, but don't press it into the soil yet. You'll see perfect uniformity when you can't distinguish individual seeds from a distance.
☀️ Step 3: Lightly Cover and Water for Ideal Germination Conditions
Use a thin layer of ¼-inch topsoil or compost to cover the seeds—just enough to block sunlight but not bury them too deeply. I sift it through my fingers to create an even veil over the surface. This protects seeds from drying out while allowing moisture to penetrate. Avoid heavy mulch or straw, which can smother seeds and prevent proper contact with soil.
Water immediately with a fine mist from a hose or sprinkler until the soil feels damp to the touch about ½ inch deep. The goal is to moisten without displacing seeds. I like to water in the early morning so the soil stays consistently damp without evaporating too quickly. Keep the surface moist—never soggy—for the first 10-14 days, which is when most grass seeds germinate. You'll know you're doing it right when the soil looks dark and uniformly damp, not glistening with excess water.
⏰ Step 4: Maintain Consistent Moisture Until Germination
Water twice daily—once in the morning and once in the late afternoon—for the first 2 weeks. Use a light sprinkle that mimics natural rainfall, avoiding heavy streams that can wash away seeds. I set a timer to remind me, because inconsistent watering is the #1 reason for patchy germination. The soil should stay evenly moist but never waterlogged—you should see water bead up on the surface briefly before soaking in.
Once you see the first green shoots (usually 7-21 days depending on the grass type), reduce watering to once daily but keep it thorough. These young seedlings have shallow roots and need steady moisture to establish. Avoid walking on the area until the grass reaches 3 inches tall—your footprints will compact the soil and stunt growth. You'll know it's time to stop frequent watering when the grass blades are ½ inch long and growing steadily.
Tips & tricks for perfect grass seed application
A few subtle adjustments can transform your average lawn into a lush, professional-looking carpet of grass. Here's what I've learned after perfecting this method over years of trial and error.
Soil Prep Matters: That ¼-inch depth for low spots isn't just arbitrary—it's the maximum depth where grass seeds can still receive adequate moisture and sunlight. Use a level or straight board to check depth consistency across your entire area. I've seen homeowners overfill low spots by ½ inch and end up with sunken patches where grass never establishes. For extra precision, mark the ¼-inch depth with a stick or dowel before filling.
Seed Distribution Technique: The 45-degree angle and 3 feet per second walk speed are critical for even coverage. I recommend practicing on a small area first—your goal is to see no visible seed piles or bare spots from 6 feet away. For large lawns, consider a broadcast spreader with a calibrated setting for your specific seed type. Even the most expensive spreaders can create patterns if you don't adjust the flow rate based on your walking speed.
Watering Precision: The ½-inch deep moisture level is what most gardeners miss. To check, insert a thin metal rod or screwdriver into the soil—it should feel damp but not wet up to that depth. Early morning watering (before 9 AM) is ideal because it prevents evaporation and fungal growth. I've seen germination rates drop by 30% when watering happens after noon, even with the same total water volume. A simple rain gauge can help you measure exactly how much water you're applying each time.
Post-Germination Care: The 3-inch height threshold before walking is non-negotiable—those tiny seedlings have roots only ½ inch deep at first. I recommend placing stepping stones or boards in high-traffic areas to create clear paths. Even a single footstep can compact the soil enough to stunt growth in that spot permanently. Once the grass reaches ½ inch, you can gradually reduce watering frequency while maintaining that ½-inch deep moisture level.
Pro Tips for Best Way To Put Grass Seed Down
- A few subtle adjustments can transform your average lawn into a lush, professional-looking carpet of grass.
- Soil Prep Matters: That ¼-inch depth for low spots isn't just arbitrary—it's the maximum depth where grass seeds can still receive adequate moisture and sunlight.
- Seed Distribution Technique: The 45-degree angle and 3 feet per second walk speed are critical for even coverage.
Frequently asked questions
Got questions about seeding your lawn? You’re not alone! Here are answers to the most common concerns—so you can plant with confidence and watch that lush green grow.
What’s the best time of year to put down grass seed?
The ideal window is early fall (September–October) in most regions, when soil temps are cool (60–75°F) and weeds are less competitive. Spring (March–April) is a close second, but avoid summer heat or winter frost—both can stress seeds. Check your USDA Plant Hardiness Zone for local timing!
How long does it take for grass seed to germinate?
Germination time varies by grass type:
- Cool-season grasses (Kentucky bluegrass, fescue): 7–21 days
- Warm-season grasses (Bermuda, Zoysia): 10–30 days
How often should I water grass seed after planting?
Water lightly but frequently: Aim for ¼ inch of water daily (morning is best) for the first 2 weeks. Once sprouts appear, gradually reduce to 1 inch per week. Avoid heavy watering—it washes seeds away or causes clumping. A sprinkler with a gentle mist works best.
Can I use a broadcast spreader instead of a drop spreader?
Yes! A broadcast spreader is great for large areas, but it’s less precise. For even coverage, walk in a crisscross pattern (first pass north-south, second east-west) and overlap slightly. Drop spreaders are better for small patches or seed blends—just walk slowly for accuracy. Test first: Spread seed on cardboard to calibrate your spreader!
What if birds or animals eat my grass seed?
Use bird repellent netting or slipcovers (burlap or landscape fabric) until seeds sprout (about 10–14 days). Avoid chemical repellents—they can harm seedlings. For persistent pests, try scattering cornmeal (birds love it but it won’t grow) or planting seeds in small, protected sections first.
My new grass looks patchy—what went wrong?
Patchiness usually means uneven seeding, poor soil contact, or inconsistent watering. Check these fixes:
- Rake lightly to ensure seeds touch soil.
- Reapply seed to thin spots (use a hand spreader for precision).
- Adjust watering—soggy spots = rot; dry spots = failed germination.
Wrapping up and next steps
Putting down grass seed the right way is all about preparation, patience, and precision—and you’ve got the blueprint now! Whether you’re fixing bare spots or reviving your entire lawn, even coverage and proper care will give you that lush, green result you’re dreaming of. 🌱
Ready to take the next step? Grab your tools, follow your plan, and soon you’ll be enjoying a thriving lawn that’s the envy of the neighborhood. Happy seeding!