
Lawn
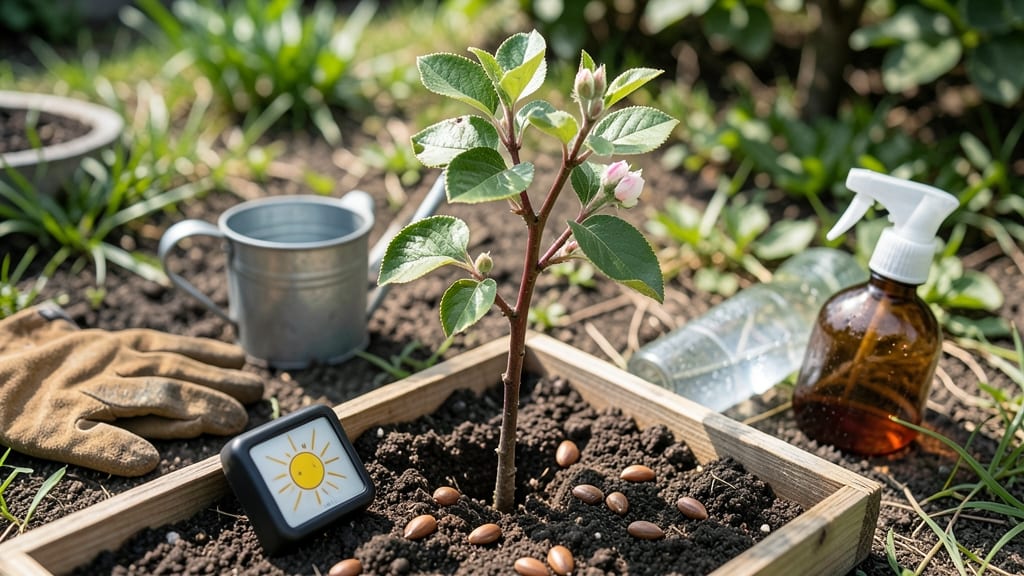
Watching the apple seed growth from a tiny core to a towering tree is the ultimate patience test—but those first green shoots after cold stratification make every chilly week worth it. 🌱 I’ve watched my kitchen counter transform from a seed tray to a tiny forest, and the thrill of seeing a real apple tree emerge from something as simple as a core is unmatched.
The catch? True-to-type fruit is a long shot, but the adventure of growing a tree from scratch? That’s the real reward.
Here’s the secret: 60 days of cold, moist stratification mimics winter’s natural dormancy, tricking seeds into breaking dormancy when spring arrives. You’ll need a zip-top bag, some damp paper towels, and a fridge—no fancy equipment, just time.
Most seeds sprout within 2-4 weeks of warm-up, but a few stubborn ones might take longer. That’s where the magic happens: watching nature’s slow, steady progress.
By the time those first leaves unfurl, you’ll have a 3-4 inch seedling ready for its own pot. It’ll grow slowly at first—think 6 inches by year one, maybe 2 feet by year three—but with proper care, you’ll end up with a sturdy young tree.
The real payoff comes years later, when you might just get a few apples (if you’re lucky), or a tree so strong it outlives you. Either way, you’ve grown something from nothing.
This method works best in zones 4-8, where cold winters help break dormancy naturally. For warmer climates, extend stratification to 90 days or use a seedling heat mat.
The key is consistency: keep those seeds moist but not soggy, and resist the urge to rush them. Patience is the only tool you’ll need.
📚 In This Guide
- What you need
- Instructions
- Tips and common mistakes
- Wrapping up and next steps
What you need
- ● Fresh apple seeds: 10–20 seeds (harvested from organic, non-hybrid apples for best results).
- ● Paper towels or coffee filters: 2–3 sheets (for moisture retention).
- ● Ziploc bag or airtight container: 1 (to create a humid environment).
- ● Potting soil: 1 bag (well-draining, organic mix like miracle-gro or foxfarm).
- ● Small pots or seed trays: 2–4 (4–6 inches deep, with drainage holes).
- ● Spray bottle: 1 (for gentle watering).
- ○ Plastic wrap or clear lid: 1 (optional, for extra humidity).
- ● Refrigerator: (for cold stratification—must stay between 35–40°F (2–4°C) for 60 days).
- ● Labeling tags: 1–2 (to track seed varieties).
- ● Sunlight access: A south-facing window or grow light (12+ hours/day after sprouting).
- ● Patience & consistency: Cold stratification takes 60 days—stick with it!
- ● Humidity dome: 1 (speeds up germination).
- ● Seedling heat mat: 1 (for faster growth post-stratification).
- ● Fertilizer (balanced, 10-10-10): 1 small bottle (once seedlings are 2–3 inches tall).
- ● Growth chart or journal: 1 (to track progress and milestones!).
Step-by-Step instructions for cold stratifying apple seeds
Here's my foolproof method to break dormancy and get apple seeds sprouting in just 60 days.
🌱 Step 1: Harvest and Prepare Seeds Properly
Collect mature apples from disease-free trees and remove seeds by slicing the fruit open. Rinse the seeds thoroughly to remove any fruit residue, which can attract mold. I always use a colander to wash them under cool running water for about 30 seconds—this removes sugar and prevents fermentation.
Spread the seeds on a clean paper towel to dry completely. This step is crucial—moisture trapped between seeds will cause them to rot before stratification. Once fully dry, store them in a sealed container in the refrigerator. The seeds need to stay dry but not bone-dry; they should feel slightly damp to the touch, like a barely wrung-out sponge.
⏰ Step 2: Stratify Seeds for 60 Days
Place the seeds in a plastic bag with a small amount of damp peat moss or vermiculite—just enough to surround them without packing down. Seal the bag loosely (leave a tiny opening) to allow airflow but prevent drying. I like to use a quart-sized zip-top bag for about 20-30 seeds.
Store the bag in your refrigerator's crispier drawer where temperatures hover around 35-40°F. Check the bag weekly—if condensation forms on the inside, open it slightly for a few hours to release moisture. After 60 days, the seeds should feel slightly softened and ready to sprout. You'll know they're ready when they sink in water (a sign of broken dormancy).
🌿 Step 3: Plant Stratified Seeds in Soil
Fill small pots (about 2-3 inches deep) with a mix of 50% potting soil and 50% perlite for excellent drainage. Plant seeds ½ inch deep—deeper planting delays germination because the seedling must push through more soil. I use a toothpick to poke small holes and place one seed per pot to avoid crowding.
Cover the pots with clear plastic wrap to create a mini greenhouse effect. Place them in a warm spot (around 70°F) with indirect light. Germination can take 1-4 weeks, depending on the apple variety. You'll see the first signs of life when tiny white roots appear at the bottom of the pot or a small shoot emerges from the soil.
☀️ Step 4: Provide Light and Care for Seedlings
Once sprouts appear, remove the plastic wrap immediately to prevent fungal growth. Move the seedlings to a sunny windowsill or under a grow light for 14-16 hours daily. Apple seedlings need bright light to prevent leggy growth—if they stretch toward the light, your setup isn't intense enough.
Water gently when the top inch of soil feels dry. Overwatering is the biggest killer of young seedlings, so I use a spray bottle to mist the soil lightly rather than pouring from above. Fertilize with a diluted fish emulsion (half-strength) after the first true leaves appear to give them a nutrient boost without burning tender roots.
🪴 Step 5: Transplant and Harden Off
After 4-6 weeks of growth, when seedlings have 3-4 true leaves, transplant them into larger pots (about 6 inches deep) or directly into the garden after the last frost. Apple seedlings are sensitive to root disturbance, so I use the "slip-and-slide" method: water the seedling thoroughly, then slide it out of the pot with a spoonful of soil intact.
Harden off seedlings by placing them outdoors in a shaded spot for 2-3 hours daily, gradually increasing exposure over 10 days. Watch for wilting or yellowing leaves—these are signs they're not ready for full sun yet. Once hardened off, they can handle direct sunlight and cooler temperatures, setting the stage for a healthy young tree.
Tips & tricks for perfect apple seed stratification
A few simple adjustments can make all the difference between seeds that sprout and seeds that rot.
Seed Preparation: Don't rush the drying process in Step 1. I've learned this the hard way—seeds that aren't completely dry will develop mold during the 60-day stratification. Spread them in a single layer on the paper towel and let them air dry for at least 24 hours. You'll know they're ready when they feel slightly damp like a wrung-out sponge, not wet or sticky. This prevents the dreaded black mold that can ruin your entire batch.
Moisture Management: The key to successful stratification is maintaining just the right moisture level in Step 2. If condensation forms inside your bag, open it slightly for a few hours to release excess moisture. Too much dampness can cause the seeds to rot before they even get a chance to sprout. I like to use a quart-sized bag for about 20-30 seeds—this gives them enough room to breathe while keeping the environment moist enough for stratification.
Testing Readiness: You'll know your seeds are ready to plant after the full 60 days when they sink in water. This simple float test tells you their dormancy has broken. If they float, give them another week in the refrigerator. I've found that some apple varieties need that extra time, especially if they came from particularly cold climates. This test saves you from planting seeds that aren't ready to germinate.
Light Requirements: When you're ready to plant in Step 4, don't be tempted to use direct sunlight right away. Apple seedlings need gentle light to start with—too much sun can scorch their delicate leaves. I place my pots under a grow light for 14-16 hours daily, which gives them the perfect balance of light without the risk of burning. If you don't have a grow light, a south-facing window with sheer curtains works well for the first week.
Pro Tips for Apple Seed Growth
- A few simple adjustments can make all the difference between seeds that sprout and seeds that rot.
- Seed Preparation: Don't rush the drying process in Step 1.
- Moisture Management: The key to successful stratification is maintaining just the right moisture level in Step 2.
Frequently asked questions
Got questions about growing apple seeds?
You’re not alone—many gardeners wonder about timing, success rates, and even whether it’s worth the effort. Below, we’ve answered the most common queries to help you sprout with confidence!
How long does it take for apple seeds to sprout after cold stratification?
With proper cold stratification (6–8 weeks in the fridge), apple seeds typically sprout within 1–4 weeks after planting in warm, moist soil. Some varieties may take longer, especially if they’re from hybrid apples (like store-bought ones). Patience is key—keep the soil consistently damp and warm (70–75°F) to encourage germination.
Do I have to cold-stratify apple seeds, or can I plant them right away?
Cold stratification mimics winter and breaks seed dormancy, but it’s not always required for apple seeds. Some may sprout without it, but success rates drop significantly—expect 5–30% germination vs. 50–80% with stratification. For best results, especially in colder climates, always stratify unless you’re in a warm region (Zone 8+).
Will apple seeds grow into true-to-type fruit trees?
Probably not! Apple seeds grown from store-bought fruit are highly unlikely to produce fruit identical to the parent tree. This is because apples are cross-pollinated, and seed-grown trees often yield small, tart, or inedible fruit. For reliable fruit, grafting or buying nursery trees is the way to go—but growing from seed is still a fun (and free!) way to experiment with heirloom varieties!
Why aren’t my apple seeds sprouting after stratification?
If your seeds refuse to sprout, check these common culprits:
- Improper stratification: Ensure seeds spent 6–8 weeks in the fridge (not freezer!) in a damp medium.
- Old or damaged seeds: Store-bought apple seeds lose viability quickly—use fresh ones if possible.
- Poor planting conditions: Seeds need warmth (70°F+), moisture, and light to germinate. Use a heat mat if your home stays cool.
- Fungal issues: Overwatering or soggy soil can cause rot. Plant in well-draining soil and avoid standing water.
Can I grow apple seeds indoors first, then transplant outside?
Start seeds in small pots or egg cartons with seed-starting mix, keeping them warm and moist. Once sprouts have 2–3 true leaves (not just the initial seed leaves), transplant them to individual pots. Hardening off (gradually acclimating to outdoor temps) for 1–2 weeks before moving them to the garden in spring will give them the best shot at survival.
Wrapping up and next steps
Growing apple seeds into thriving plants is a rewarding journey that blends patience with nature’s magic! 🌱 By mastering cold stratification and providing consistent care, you’ve unlocked the potential to nurture a fruit tree from scratch—all in just 60 days.
Whether you’re aiming for a backyard orchard or simply the joy of watching life sprout from a tiny seed, your efforts are already setting the stage for a greener future.
Now that you’re armed with the know-how, take the next step! Plant those prepped seeds in well-draining soil, keep them cozy, and watch as your dedication blooms into something extraordinary. Happy growing—your future apple tree is counting on you! 🍏✨