
Lawn
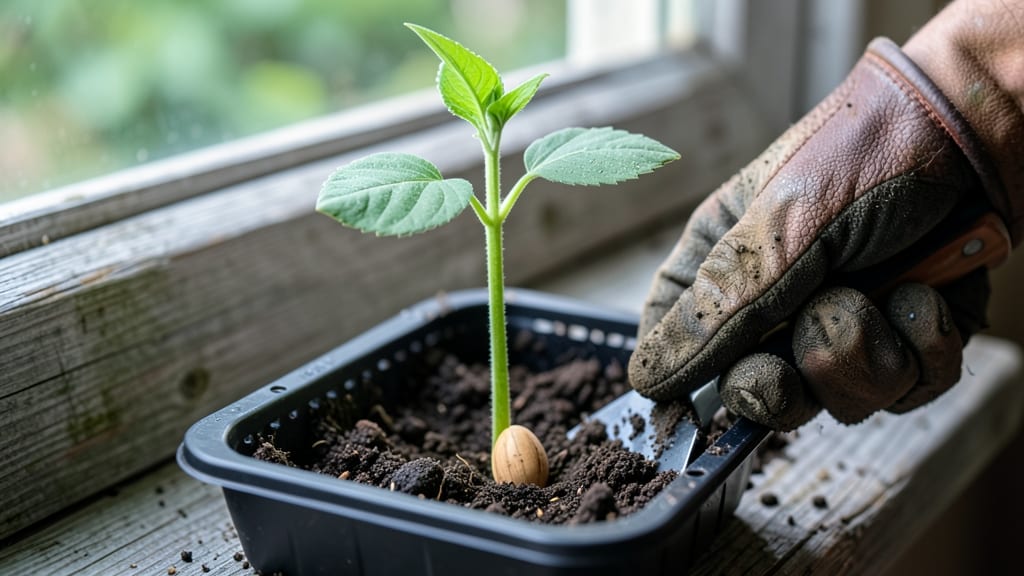
A seed in the sun transforms ordinary spaces into thriving havens where pollinators dance all season. 🌻 I’ve watched my own patch of golden sunlight go from barren dirt to a buzzing, blooming paradise—just by choosing the right plants and letting nature take the lead.
The key isn’t complicated: it’s about sun-loving perennials that refuse to quit, even when others fade.
Think of it as a garden that works with the sun, not against it. My go-to lineup includes black-eyed Susans that glow like tiny suns, coneflowers that sway in summer breezes, and salvias that hum with bees from spring to frost.
The secret? Layering plants with different bloom times so there’s always something in flower—no dead zones, just a constant parade of color and movement.
By the end of the first season, you’ll have a space that feels alive, not just planted. The air hums with wings, the soil stays rich from fallen petals, and you’ll catch neighbors pausing to admire what you’ve created.
It’s not just a garden—it’s a celebration of light, growth, and the tiny creatures that make it all possible.
Whether you’ve got a full sun patch or just a hot, sunny corner, this approach scales beautifully. Start small, let the sun do the work, and watch your garden become a magnet for life.
The best part? Every year, it gets better—just like a seed in the sun, growing stronger with each passing season.
📚 In This Guide
- What you need
- Instructions
- Tips and common mistakes
- Wrapping up and next steps
What you need
- ● Native wildflower seeds: 2–3 lbs (or ~10,000–15,000 seeds) of pollinator-friendly varieties like coneflowers, black-eyed Susans, milkweed, and bee balm. (Check local native plant guides!)
- ● Well-draining soil: 1 cubic yard of amended soil (mix garden soil with compost or sand for rocky areas).
- ● Organic mulch: 1–2 bags of straw or wood chips (to retain moisture and suppress weeds).
- ● Watering can or hose: With a gentle spray nozzle for delicate seedlings.
- ○ Gloves & knee pads: For comfortable planting (optional but highly recommended!).
- ● Decorative stones or pebbles: For pathways or borders (adds charm!).
- ● Birdbath or small pond: A shallow dish (3–5 gallons) to attract pollinators.
- ● Wind chimes or solar lights: For a magical evening glow.
- ● Seed packets for annuals: Like cosmos or zinnias (plant in succession for continuous blooms).
Step-by-Step instructions for creating a whimsical pollinator haven
Here’s how to craft a magical garden space that keeps bees buzzing and butterflies dancing all year long.
🌱 Step 1: Choose a Sunny Spot and Clear the Space
Pick a location that gets at least 6 hours of direct sun daily—pollinators love warmth, and most blooming plants thrive in full light. I always check for shade patterns throughout the day with a simple stick test: stick a pencil in the ground at different times and mark where its shadow falls. If the shadow disappears for more than 4 hours, move to a sunnier patch.
Clear the area of weeds, rocks, or debris. Use a rake to loosen the top 2-3 inches of soil, breaking up any compacted layers. This helps roots spread easily and prevents water from pooling. If your soil feels hard as a brick, mix in a 1-inch layer of compost to improve drainage and fertility—pollinators need healthy plants to thrive, and healthy plants start with good soil.
☀️ Step 2: Plan Your Year-Round Bloom Sequence
To keep your haven buzzing all year, layer plants that bloom in overlapping seasons. Start with early spring bloomers like crocus or lungwort, followed by summer favorites like coneflowers or black-eyed Susans, and finish with late-season asters or goldenrod. I like to sketch a simple layout: draw a circle for each plant, labeling bloom times and heights. Taller plants go in the back, shorter ones in front, and ground covers fill gaps.
Include a mix of colors—purples, blues, and whites attract bees, while reds and yellows lure butterflies. Avoid single-species plantings; diversity keeps pollinators fed and your garden vibrant. For example, a 3-foot-tall coneflower paired with 1-foot-tall lavender and 6-inch creeping thyme creates a layered, pollinator-friendly scene that blooms from summer to fall.
🌿 Step 3: Plant for Pollinators (Not Just Pretty Flowers)
Dig holes twice as wide as the root ball but no deeper—this encourages roots to spread outward for stability. Gently tease apart roots if they’re circling tightly, then place the plant in the hole and fill with soil, pressing lightly to remove air pockets. Water deeply right after planting to settle the soil and help roots make contact.
Focus on native plants when possible—they’ve evolved with local pollinators and provide the best nutrition. For example, milkweed is a must for monarchs, while bee balm attracts hummingbirds and bees alike. Space plants 18-24 inches apart to allow airflow, which reduces disease and keeps plants healthy. Mulch with 2 inches of shredded bark or straw to retain moisture and suppress weeds—just keep it a few inches away from stems to prevent rot.
💧 Step 4: Water and Maintain for Continuous Blooms
Water deeply once a week (or more in extreme heat) until the soil is 6 inches deep and moist. Check with your finger—if the top inch feels dry, it’s time to water. Avoid overhead sprinklers; instead, water at the base to keep leaves dry and prevent fungal diseases. A drip irrigation system works best for pollinator gardens, delivering water slowly and efficiently.
Deadhead spent blooms regularly to encourage more flowers and extend the season. Snip off faded flowers with clean pruners, cutting just above a set of healthy leaves. Fertilize lightly in spring with a balanced, organic fertilizer (like 10-10-10), but avoid heavy feeding—pollinators prefer plants with strong, natural flavors over overfed, weak ones. A handful of compost scattered around the base in early spring gives plants a gentle boost without overstimulating growth.
✂️ Step 5: Add Whimsical Touches for Pollinators (and You!)
Pollinators love flat rocks, bare soil patches, and shallow dishes of water with pebbles for drinking. Scatter a few smooth stones around your garden to give bees a place to rest. A small birdbath or saucer with 1 inch of water and pebbles for perching turns your haven into a pollinator oasis. Just refill it every few days—stagnant water breeds mosquitoes, which are no fun for anyone.
Add playful elements like wind chimes, painted rocks, or a tiny birdhouse to make the space feel magical. I like to include a few "pollinator hotels" made from bamboo stakes or hollow stems—these give solitary bees a place to nest. The key is balance: keep 70% of the space natural and wild, with just enough whimsy to make it feel like a fairy garden. Before long, you’ll hear the hum of bees, the flutter of wings, and know you’ve created something truly special.
Tips & tricks for perfect pollinator haven gardens
Creating a thriving pollinator haven takes a little strategy—here's how to make your garden buzz with success from day one.
The Sunlight Secret: That 6-hour sun requirement is non-negotiable for most pollinator plants. I've seen gardens fail spectacularly when planted in partial shade—bees and butterflies simply won't visit. Use a solar tracker app to map your yard's sunlight patterns before planting. Morning sun is especially important for early bloomers like crocus, while afternoon sun helps prevent fungal issues on leaves.
Soil Prep That Makes a Difference: When loosening those top 2-3 inches of soil in Step 1, don't just scratch the surface. Aim to break up soil to about 6 inches deep—this gives roots room to establish properly. For clay-heavy soil, mix in a 1-inch layer of compost and some coarse sand (like 1 part compost to 2 parts sand) to improve drainage. The goal is soil that crumbles easily when moist, not hard packed earth.
Plant Placement Pro Tip: In Step 3, when spacing plants 18-24 inches apart, think vertically too. Tall plants like coneflowers (3 feet) should go in the center of your layout, with medium-height lavender (1 foot) surrounding them, and low-growing thyme (6 inches) filling the front. This creates natural pathways for pollinators to navigate without getting tangled in foliage. I always draw my layout on graph paper first—it's surprising how much difference a few inches make!
Watering Wisdom: That once-a-week watering guideline works best for established gardens, but newly planted pollinator havens need more frequent attention. Water immediately after planting, then every 2-3 days for the first month to help roots establish. The key is consistent moisture—pollinators need healthy plants, and healthy plants start with proper hydration. A drip irrigation system on a timer is my go-to for maintaining this without overwatering.
Pro Tips for A Seed In The Sun
- Creating a thriving pollinator haven takes a little strategy—here's how to make your garden buzz with success from da...
- The Sunlight Secret: That 6-hour sun requirement is non-negotiable for most pollinator plants. I've seen gardens fail...
- Soil Prep That Makes a Difference: When loosening those top 2-3 inches of soil in Step 1, don't just scratch the surf...
Frequently asked questions
Got questions about creating your own whimsical pollinator haven with year-round blooms?
You’re not alone! Here are some of the most common queries—and their answers—to help you get started on your seed in the sun adventure.
How long does it take for a pollinator garden to start attracting bees and butterflies?
Most pollinators will visit your garden within 4–8 weeks if you plant a mix of fast-blooming annuals (like cosmos or marigolds) alongside perennials (e.g., coneflowers or lavender). Early bloomers draw them in, while later varieties ensure a steady food source. Pro tip: Plant native species—they’re the pollinators’ favorite!
Can I plant this garden in any season, or is there a best time?
The ideal time depends on your climate, but early spring or late summer/fall are the sweet spots. Spring lets you catch early pollinators, while fall planting gives roots time to establish before winter. Troubleshooting: If your area has harsh winters, opt for cold-hardy perennials (like Russian sage) and protect tender annuals with mulch.
Is this garden expensive to maintain? Are there budget-friendly alternatives?
Not at all! Start small with seed packets ($1–$3 each) instead of nursery plants, and focus on low-cost, high-reward natives like milkweed or clover. Mulch with free grass clippings or leaves to retain moisture. Bonus: Save seeds from your best bloomers for next year!
What if my garden isn’t attracting pollinators? What’s the fix?
Check these quick fixes:
- More variety: Add blue, purple, or white flowers—bees love them!
- Water source: A shallow dish with pebbles (for landing spots) works wonders.
- Pesticide-free zone: Skip chemicals; pollinators need safe forage.
Can I grow this garden in containers or small spaces?
Use deep pots (12+ inches) for perennials like lavender or thyme, and mix in annuals like nasturtiums. Hang window boxes with trailing flowers (e.g., alyssum) for vertical appeal. Space hack: Stack containers to maximize square footage!
Wrapping up and next steps
A Seed in the Sun isn’t just a garden—it’s a vibrant promise of life, color, and connection. By blending native perennials, seasonal blooms, and pollinator-friendly plants, you’ve created a haven that thrives year-round, supporting bees, butterflies, and birds while bringing joy to your outdoor space. 🌸
Now that you’re armed with the how, it’s time to take the first step. Whether you’re sketching a layout, gathering supplies, or simply dreaming of your future haven, start small. Plant a single seedling today—literally or metaphorically—and watch it grow into something extraordinary. Your pollinator paradise awaits!
What will you nurture first?